How To Blog
How To Use A Bicycle Crank Extractor Tool | Simple Maintenance
Ever wondered how to take your cranks off, but you undo the bolt and nothing happens? You need to use a crank extractor! Here is our simple guide showing you how to remove your bicycle cranks using an extractor. Most older road and mountain bikes use cranks like this and a lot of Raceface cranks also use this system.
You Will Need For Removing Your Cranks:
Crank extractor tool - Ice Toolz make a good, cheap one
Spanner 15mm
Allen Keys
Sometimes a socket is required on older cranks
Firstly remove the crank arm retaining bolt. This is usually an 8mm allen or in some cases a 13 - 14mm socket.
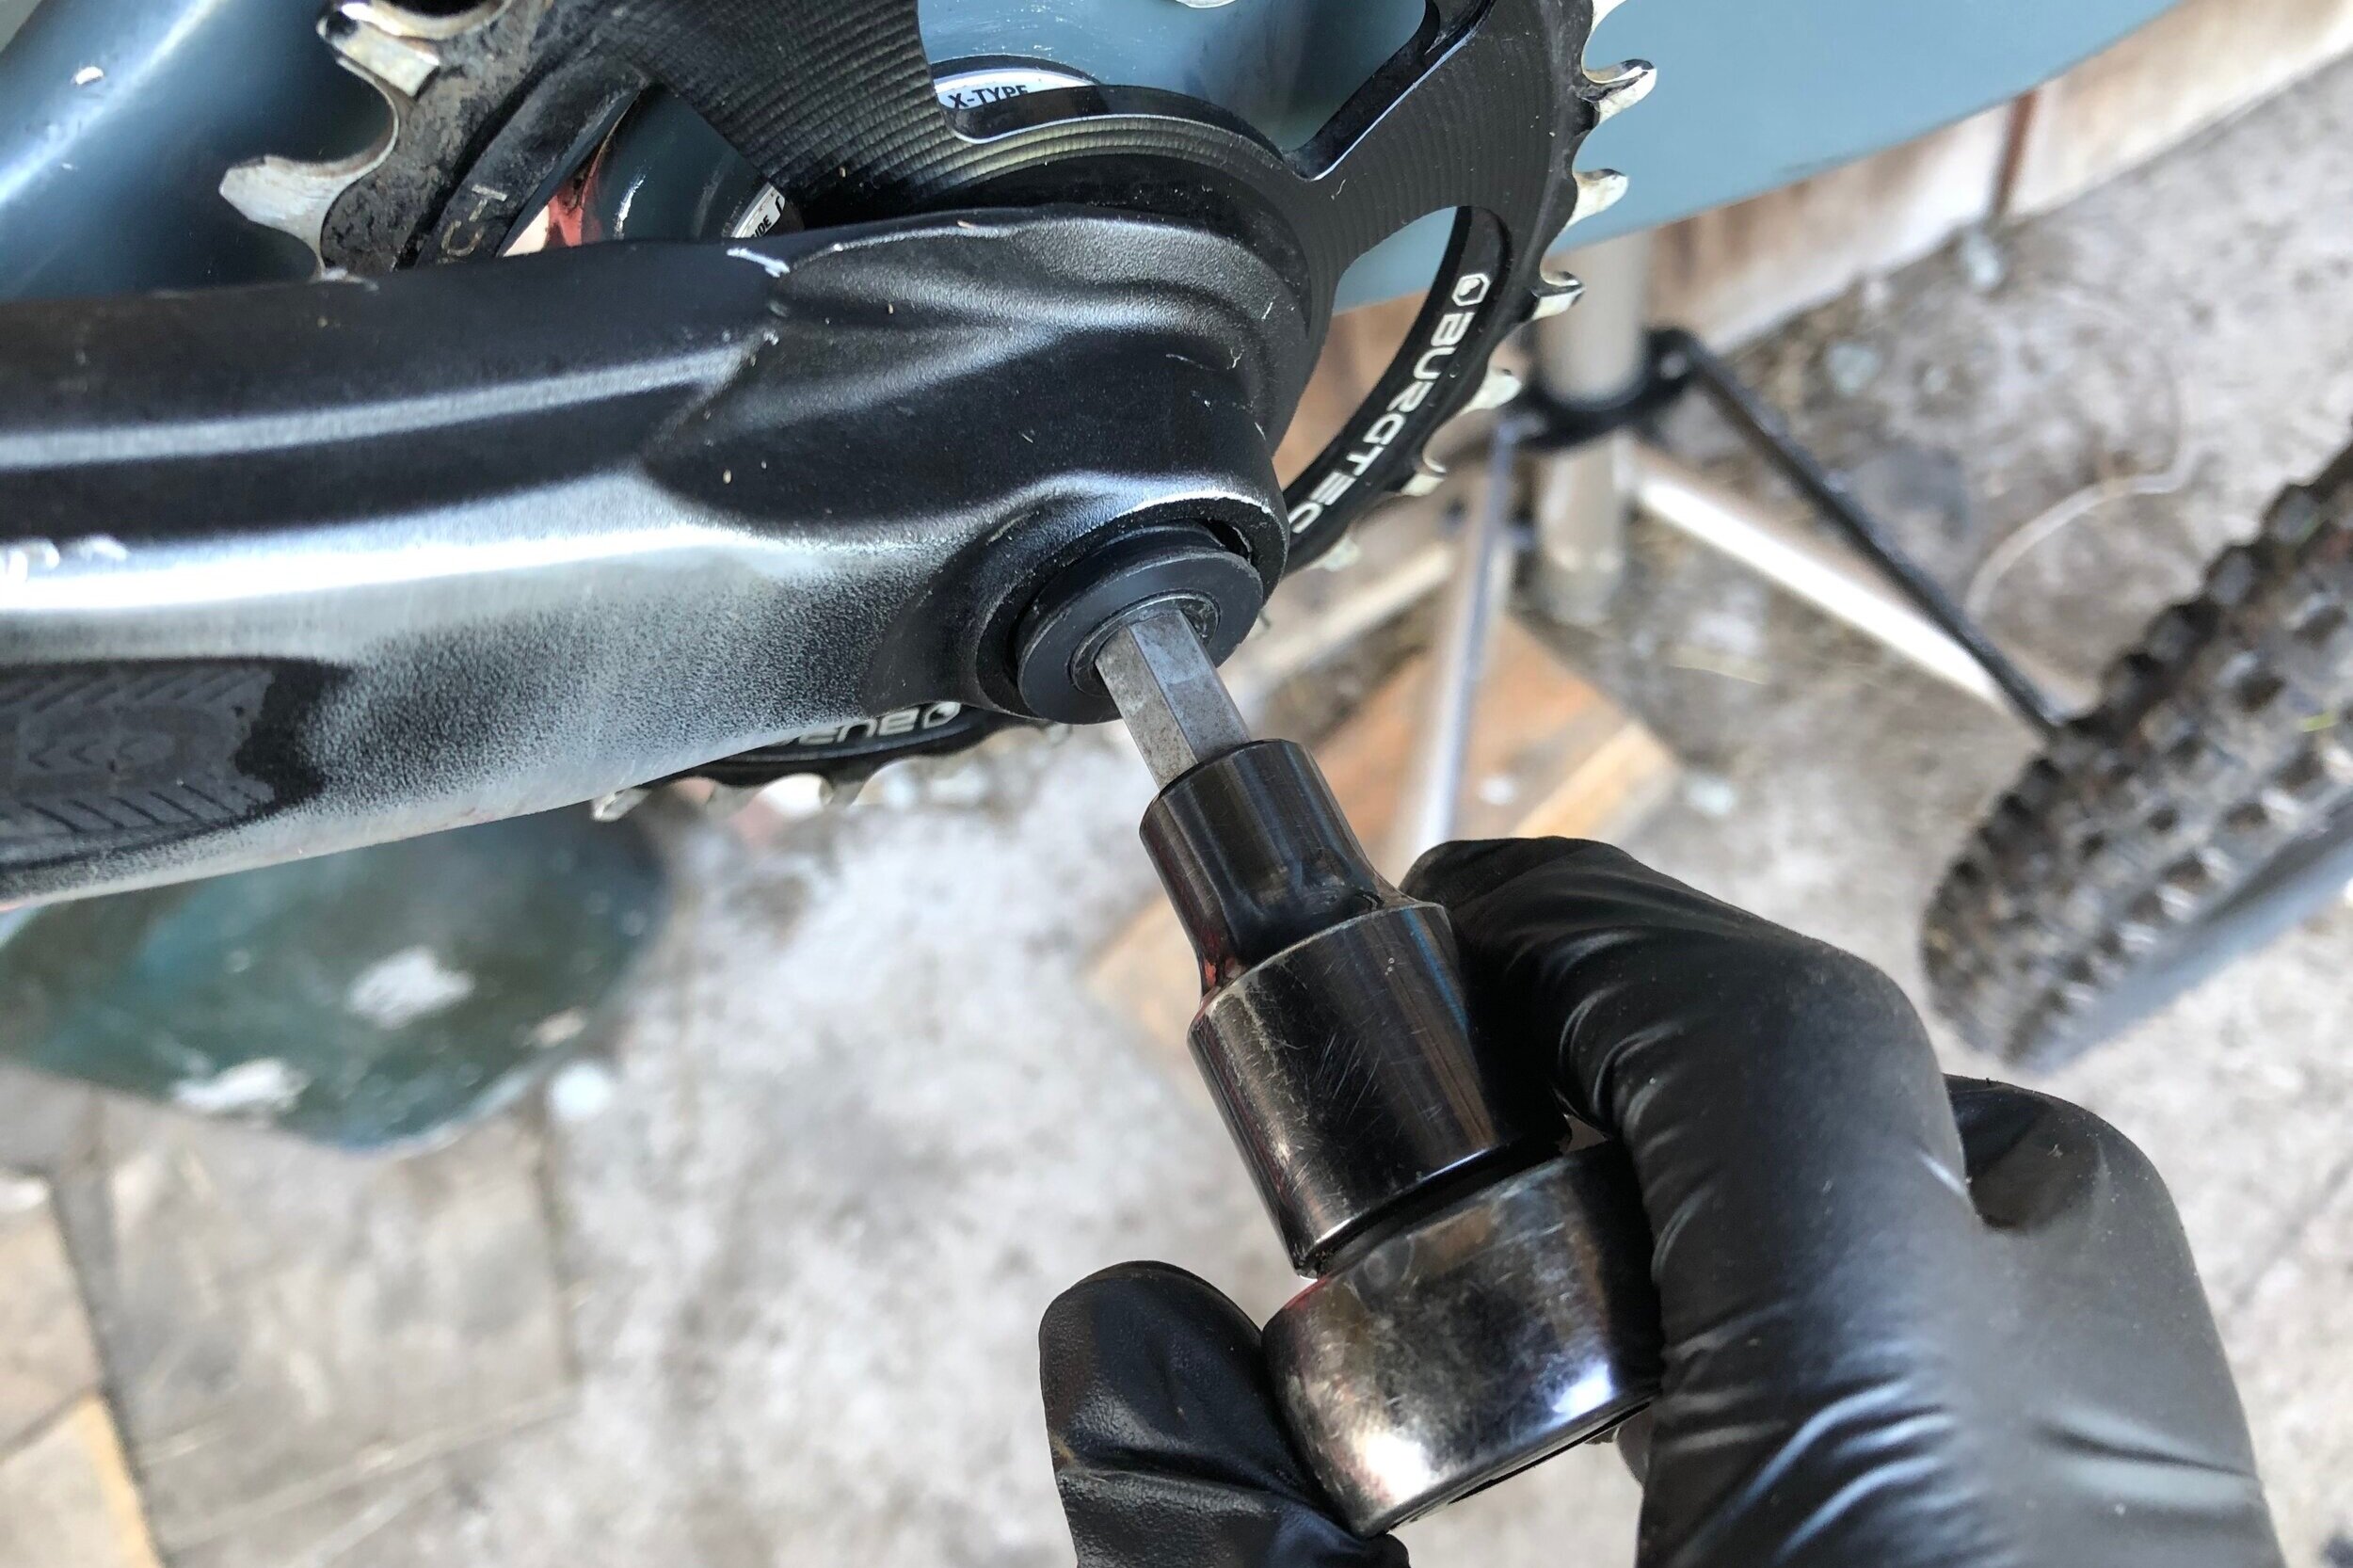
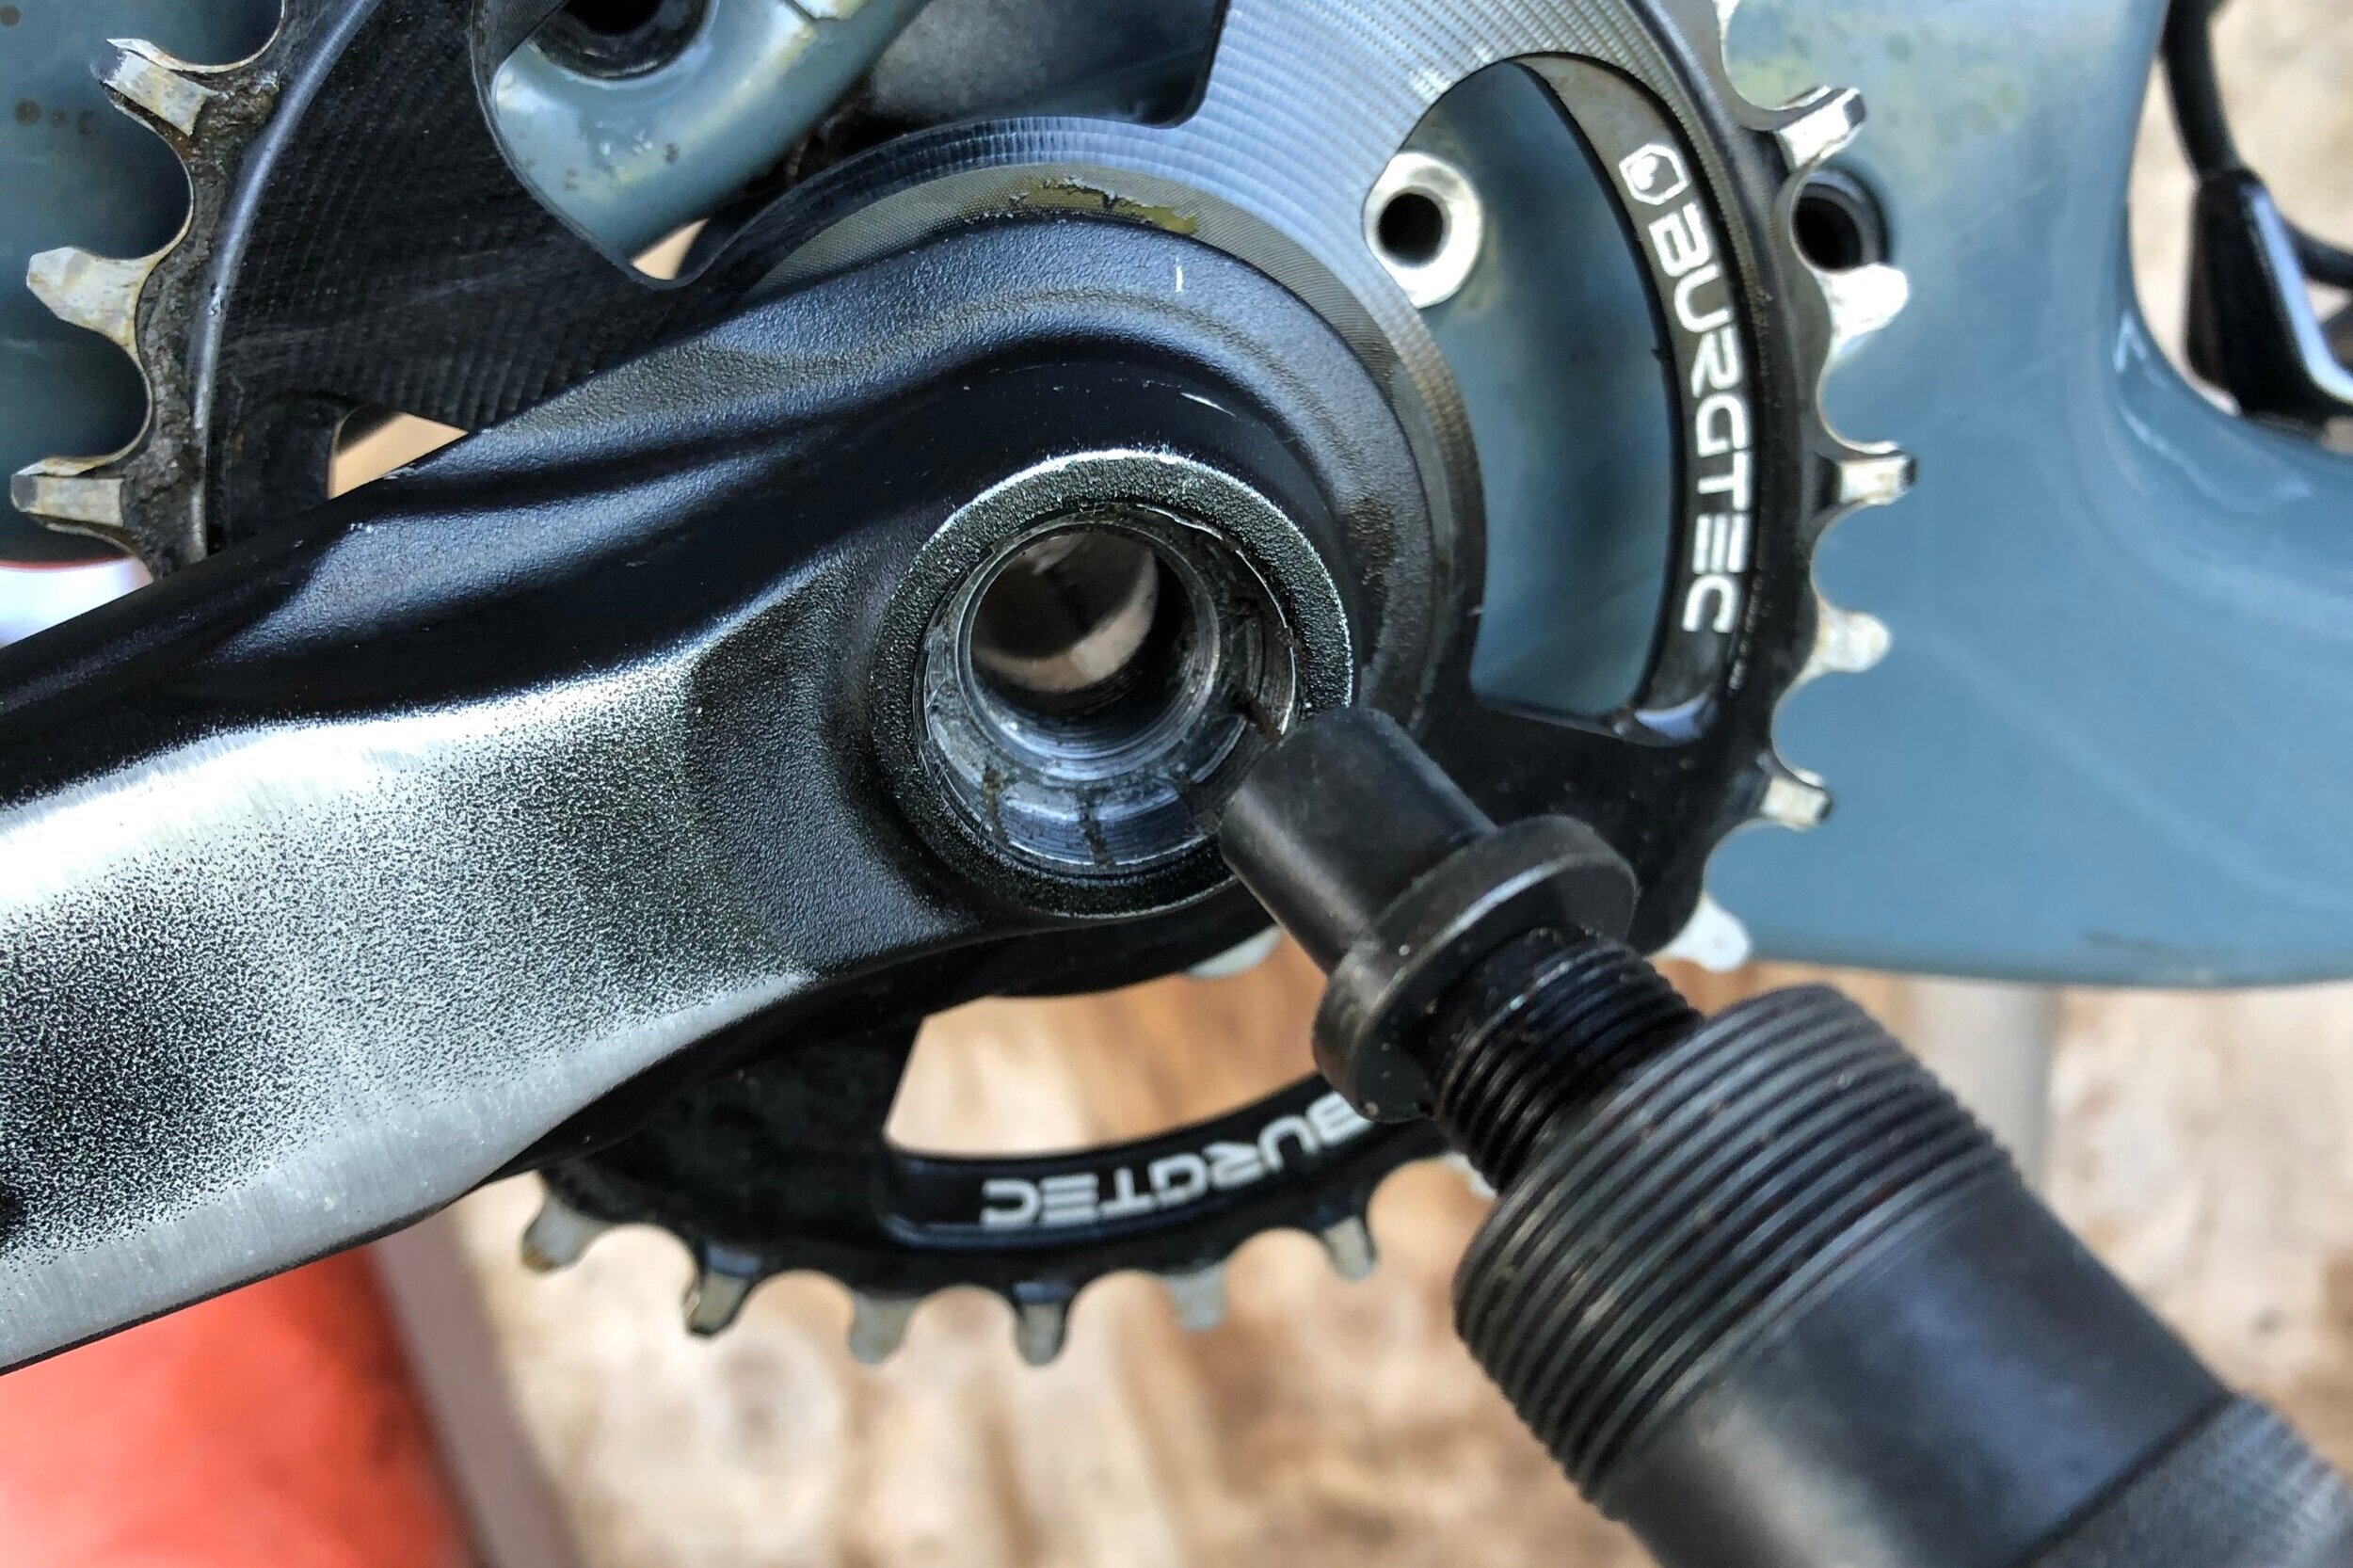
Now inspect inside the crank and spindle. Offer up your tool to ensure that you are pressing against the spindle and not the crank you are trying to remove as this will cause damage to the crank. Notice how my tool has a hardened, shaped end to exactly fit into the crank spindle
Now fully unwind your extractor tool and thread the tool into the crank arm, nipping it up with your spanner. Make sure that the tools is threaded in with sufficient thread or you can risk stripping it out of the crank.
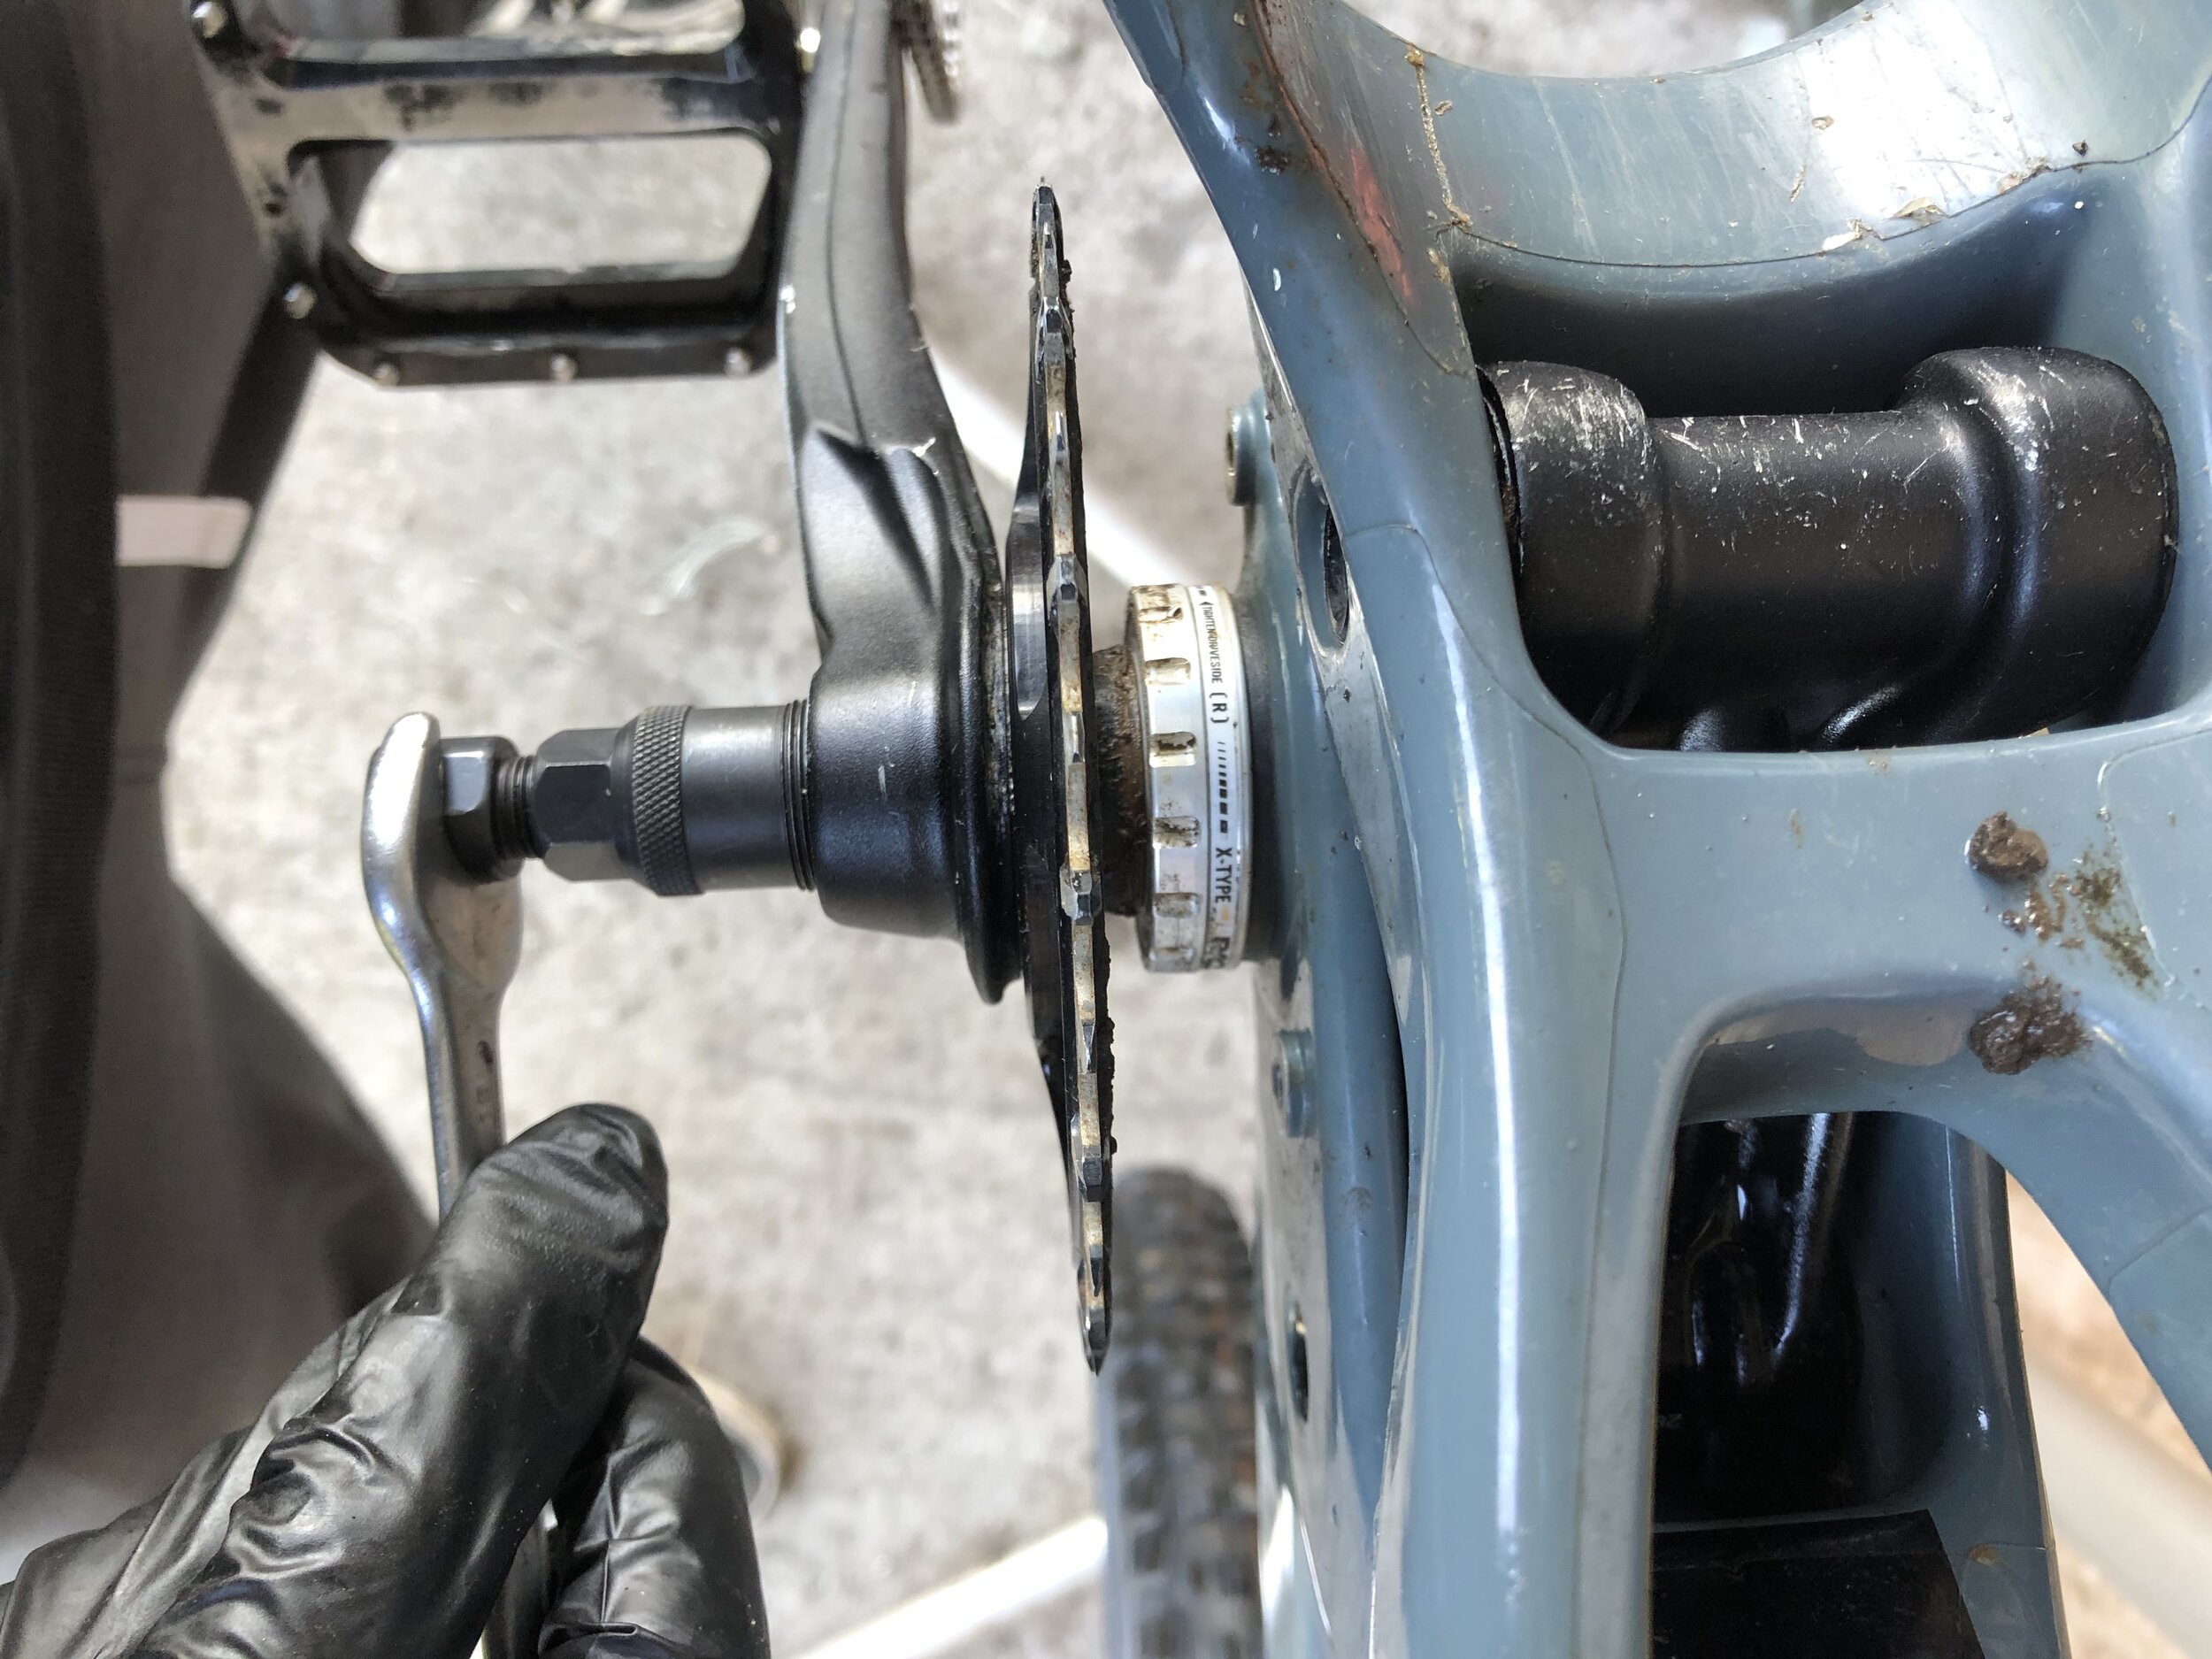
Now start to tighten the tool up to ‘pull’ the crank arm off of the spindle. This will sometimes require a bit of force but if it is extremely stiff it is likely that you have not aligned the tool properly. If so stop there and remove the tool and re evaluate the surface you are pressing against.
You should start to notice the crank moving away from the frame… Success!
How To Fit A New Shimano Zee Hydraulic Disc Hose | With Kit Provided
With modern bikes often using internal cable routes, changing a brake, especially a rear brake, can be a bit of a task. Luckily Shimano have made things very easy by supplying dedicated replacement part packages which include every thing you will need and in my opinion are the best option when it comes to maintenance. Here we show you how to change a Shimano Zee disc brake hose. The rear brake was being fitted to a longer frame so a longer hose was needed. to reach the lever.
Anything involving hydraulic brakes can be a bit of a daunting task! You get used to the ‘perfect’ bite point and just change the pads once in a while, for many modern hydraulic brakes are a bit of a fit and forget affair. With modern bikes often using internal cable routes, changing a brake, especially a rear brake, can be a bit of a task. Luckily Shimano have made things very easy by supplying dedicated replacement part packages which include every thing you will need and in my opinion are the best option when it comes to maintenance.
Here we show you how to change a Shimano Zee disc brake hose. The rear brake was being fitted to a longer frame so a longer hose was needed. to reach the lever.
You Need for shimano zee hose replacement:
New Shimano Disc Brake Hose (rear) includes olive, barb, seals and hose grips
Allen Keys
8mm spaner
Descent Pliers
Cable Cutter (ideally disc hose specific but any cable cutters should work)
Shimano Bleed Kit and Mineral Oil
Replacing your hose
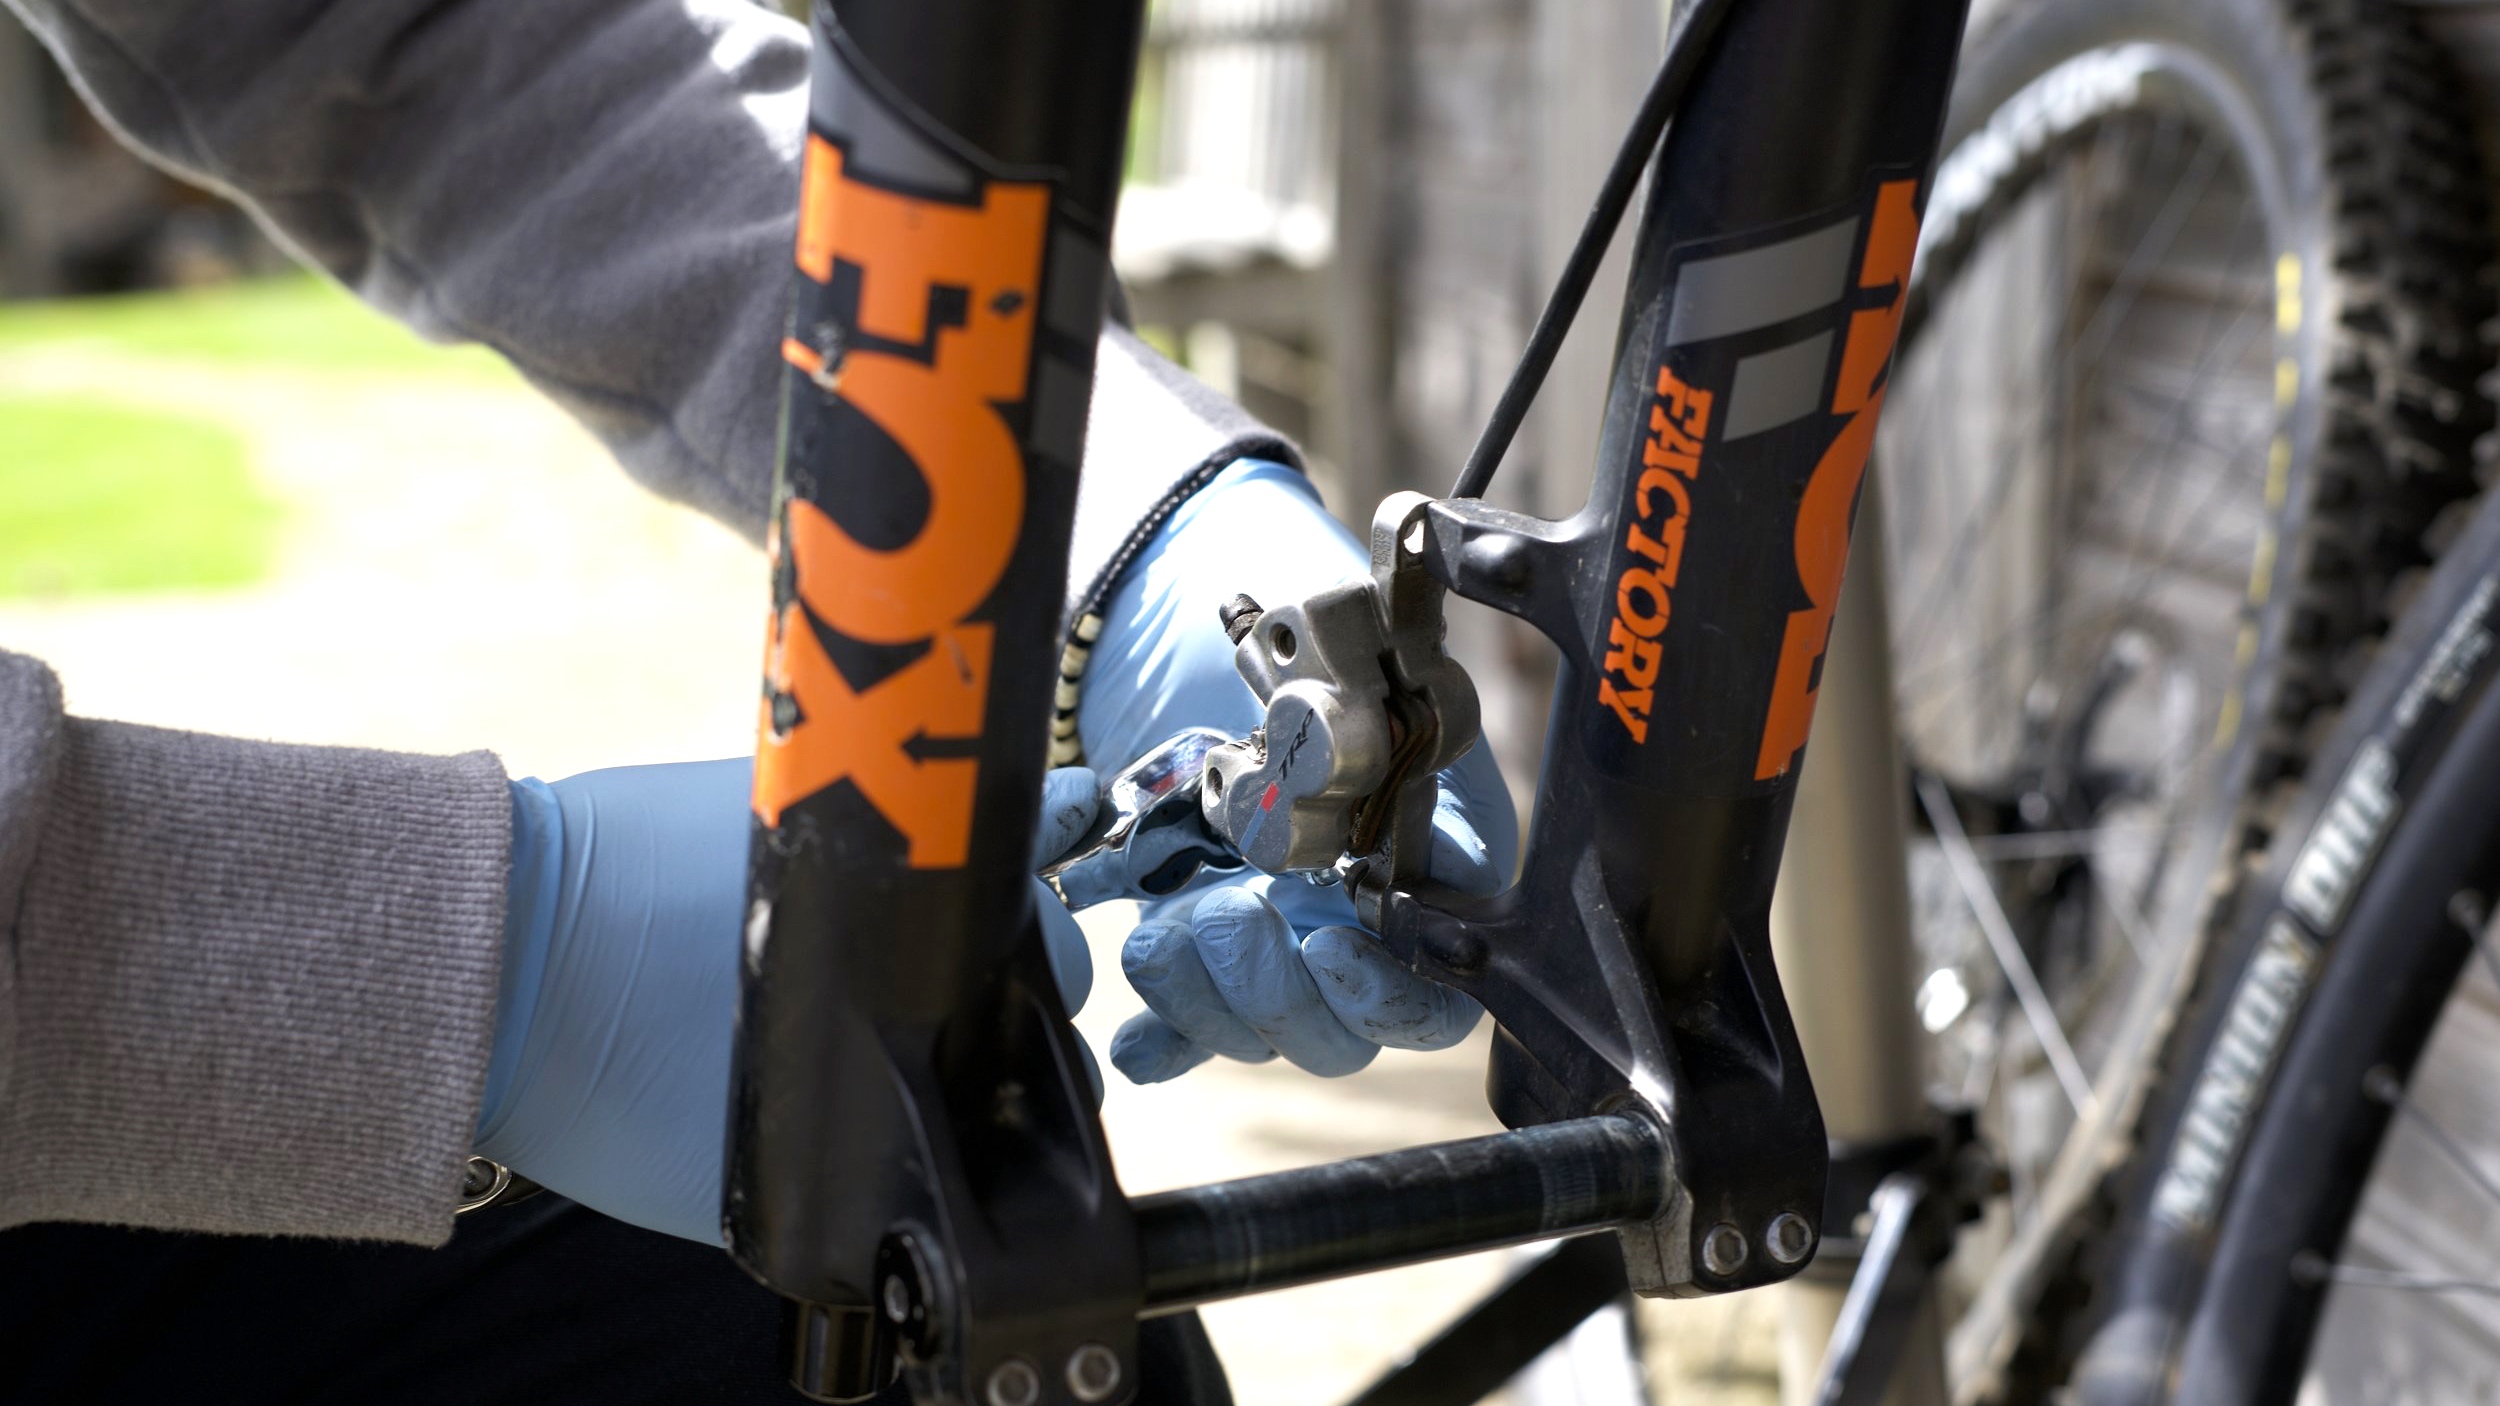
Firstly identify the hose to calliper connection bolt and ensure that your new hose matches the old one. Note it is good practise to remove your disc brake pads, I was going to replace the pads anyway so just left the old ones in for the most part.
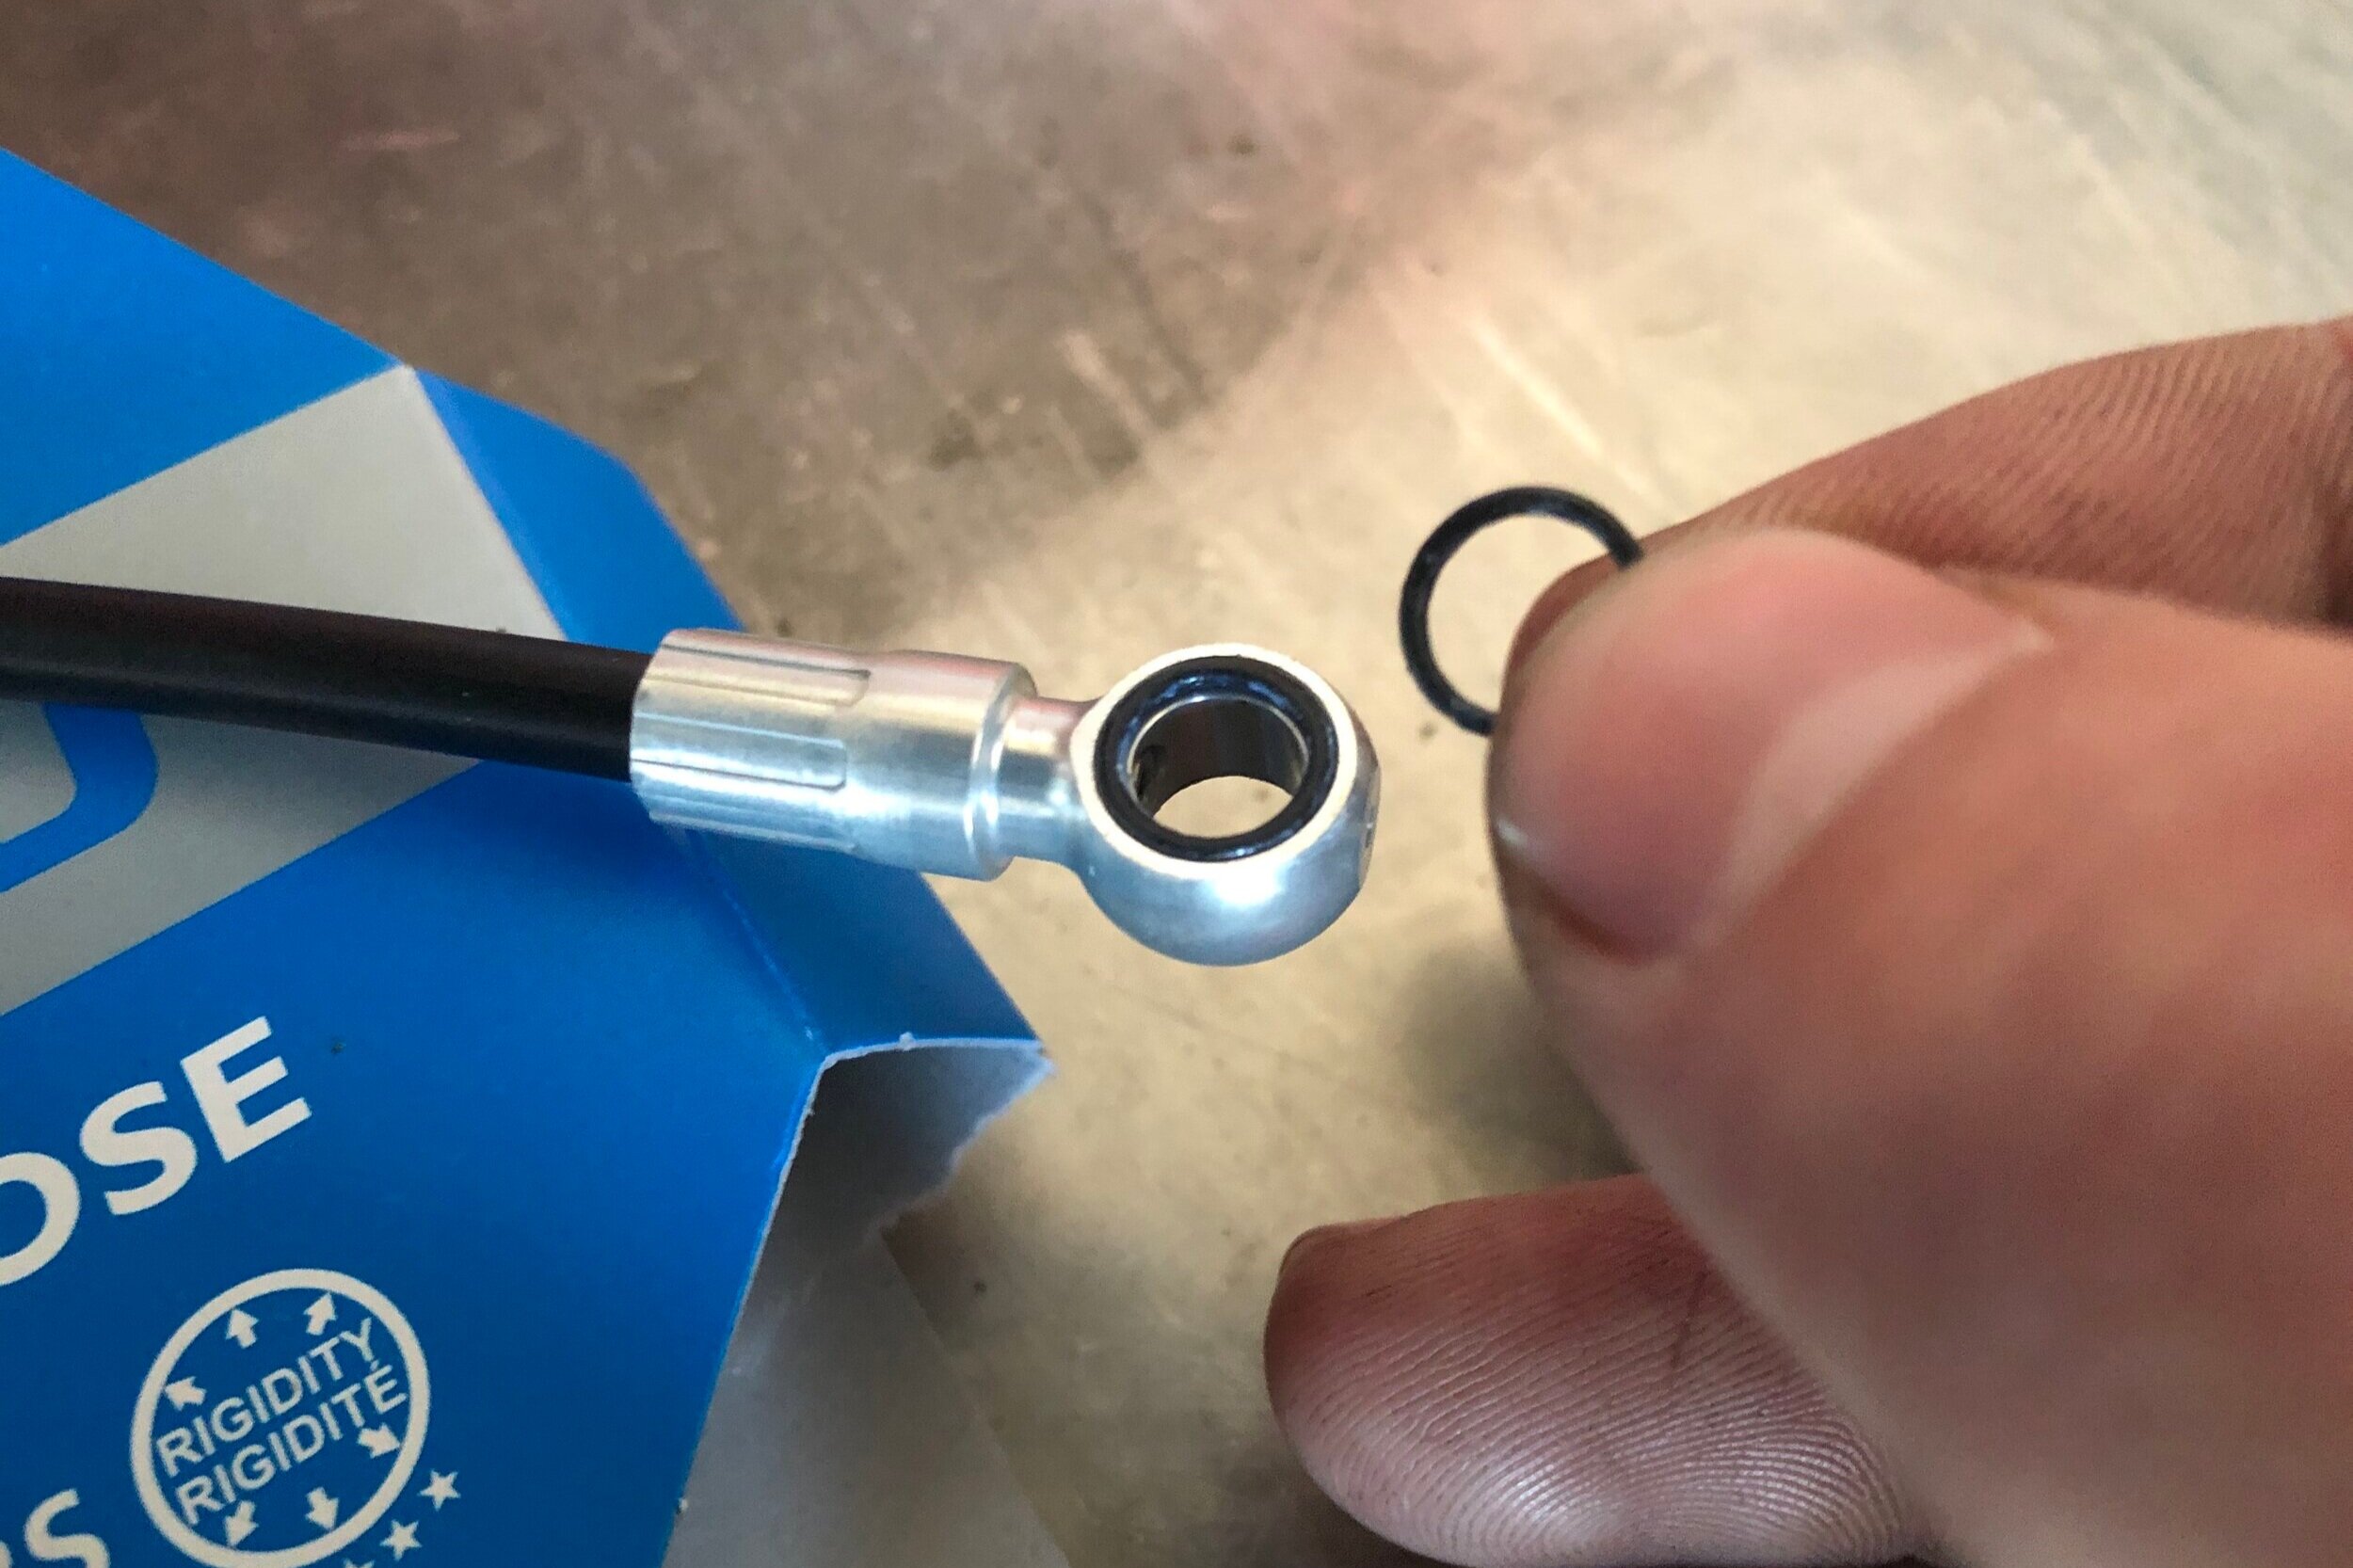
Next carefully place the provided o rings into the slots on the Shimano brake hose connector, there should be 1 either side (you can use the old hose for reference if you need) . Now using your allen key unbolt the old hose and set aside.
Now bolt on the new hose with the new bolt supplied being careful not to pinch the o rings when you tighten the bolt. It is a good idea to start routing the hose up the frame before fully tightening the hose to calliper connection to ensure the hose leaves the calliper at the right angle.
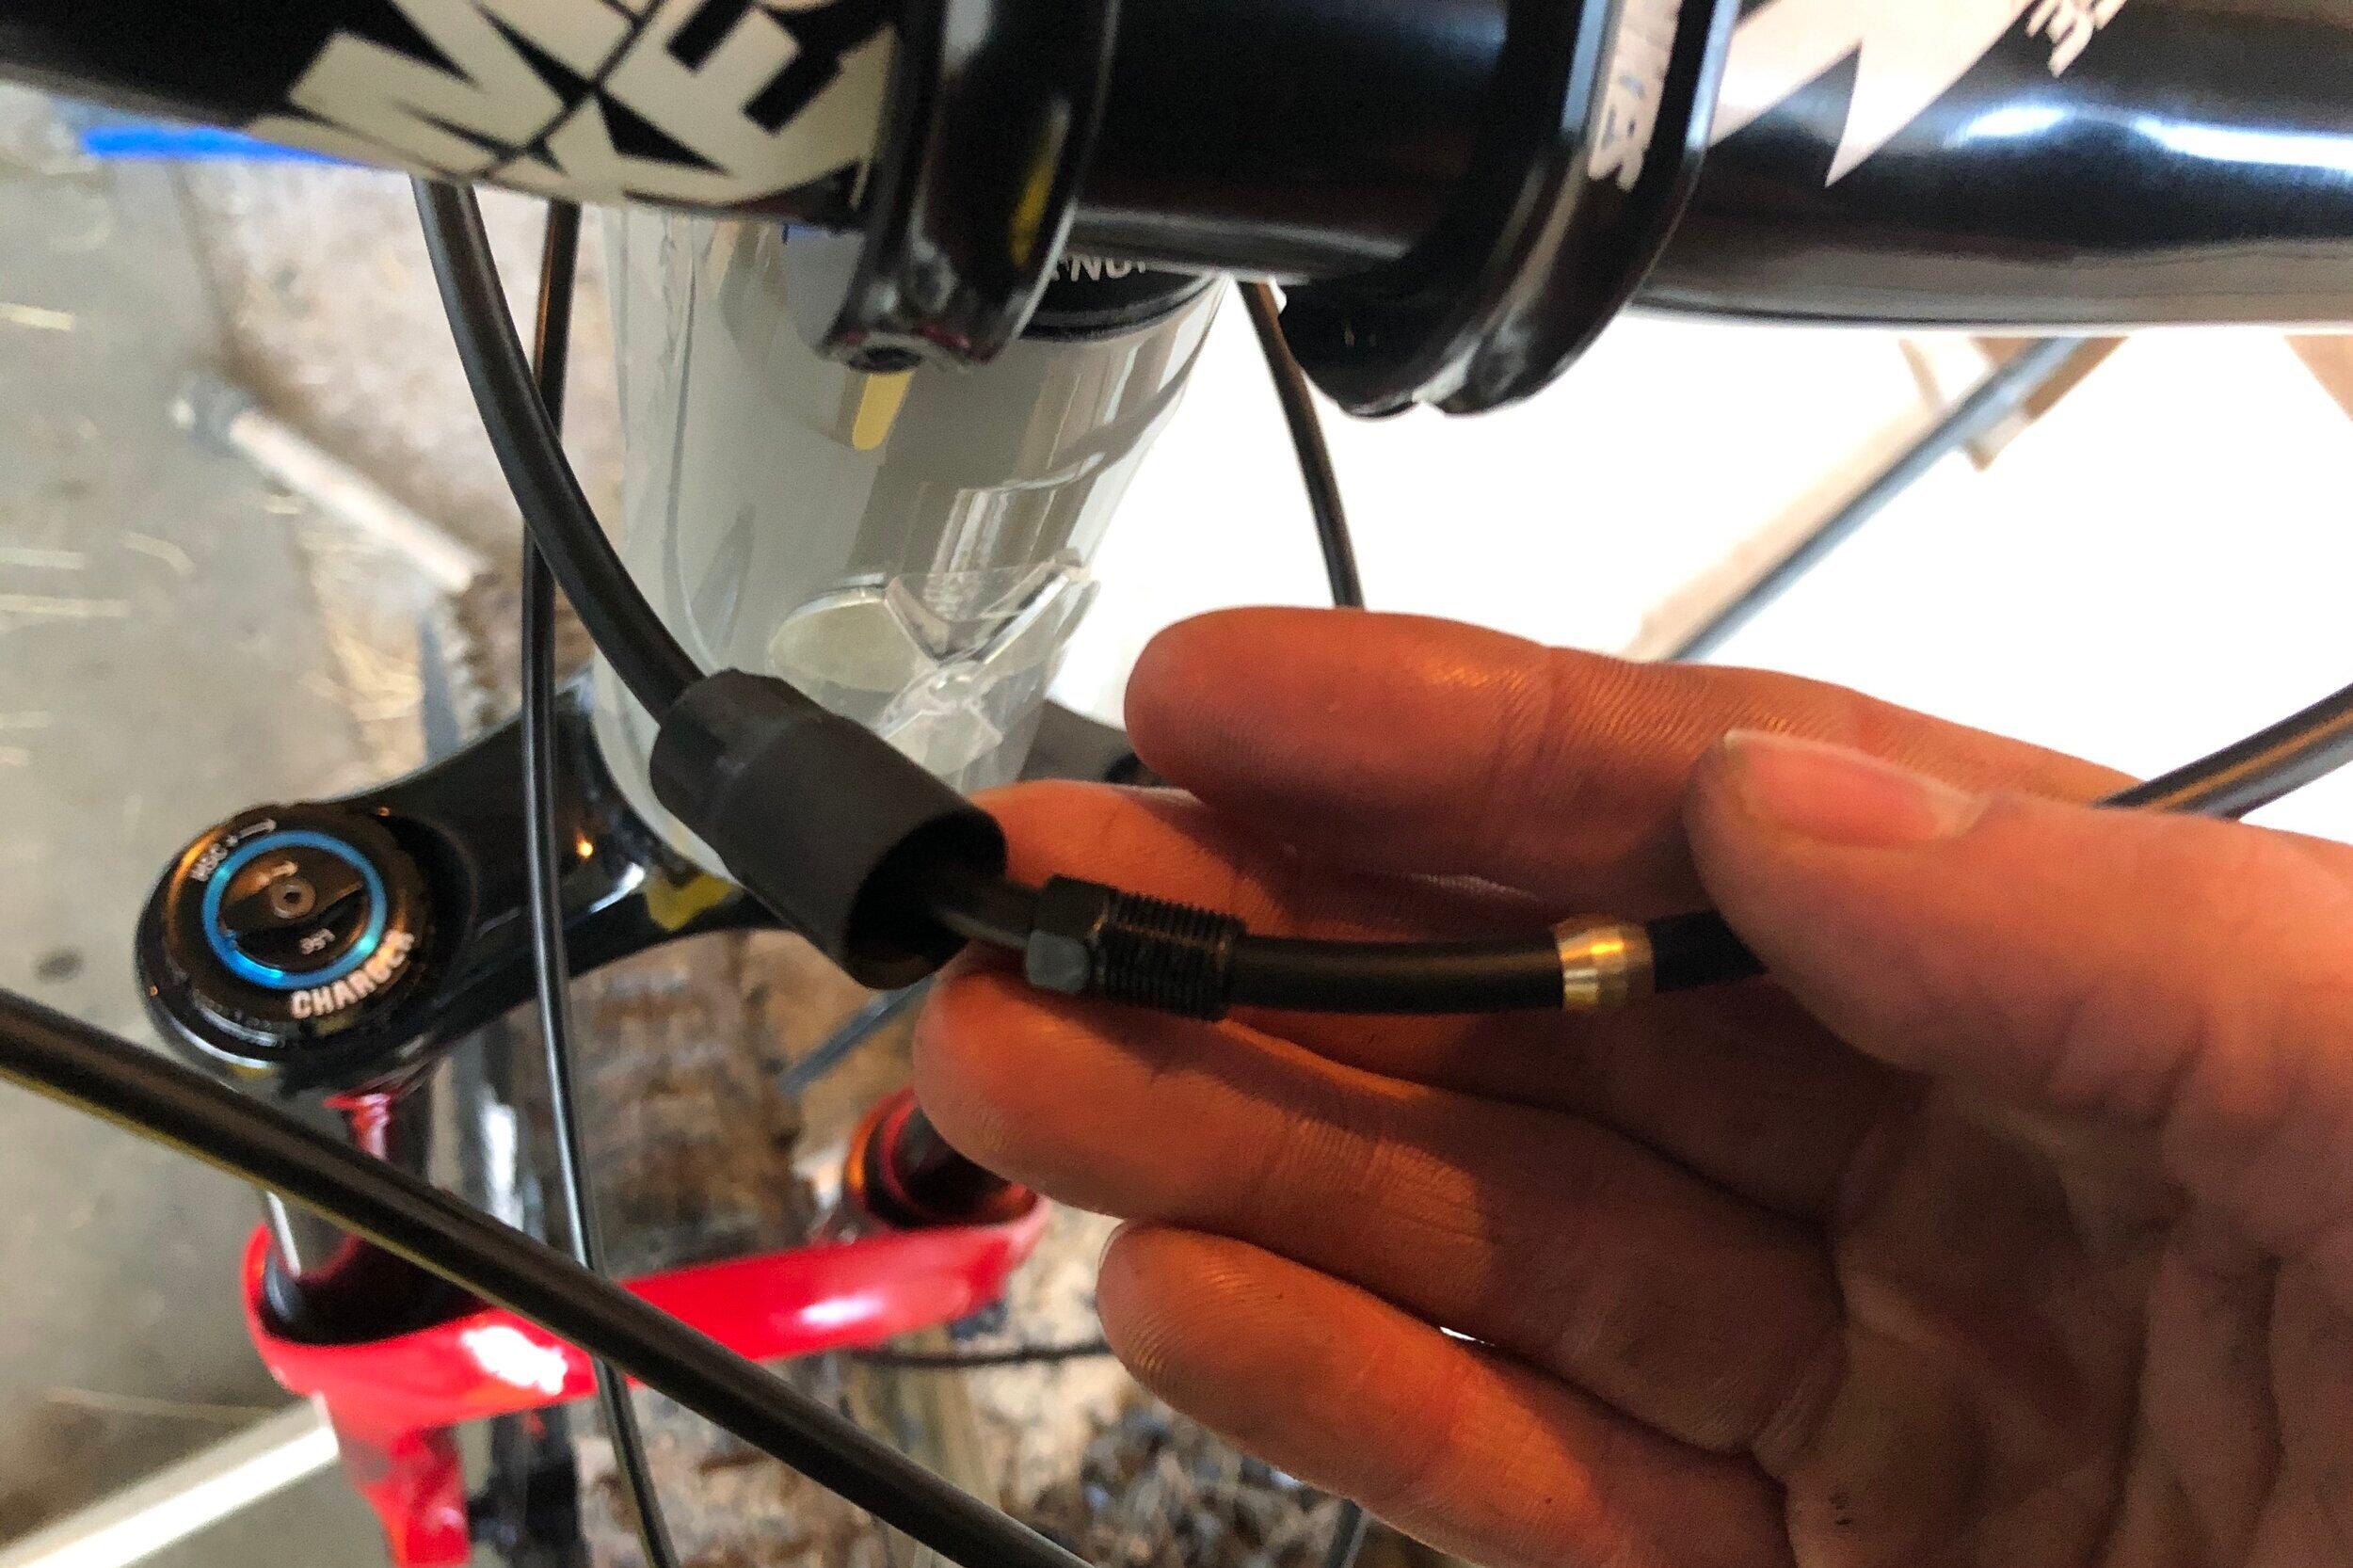
Next fully route the brake hose up to the handle bars and slide on the hose - lever connections in the order as pictured (rubber cover, bolt, olive). Note I have some foam sleeve to protect the frame from cable rub so if you have something similar it is a good idea to put it on now
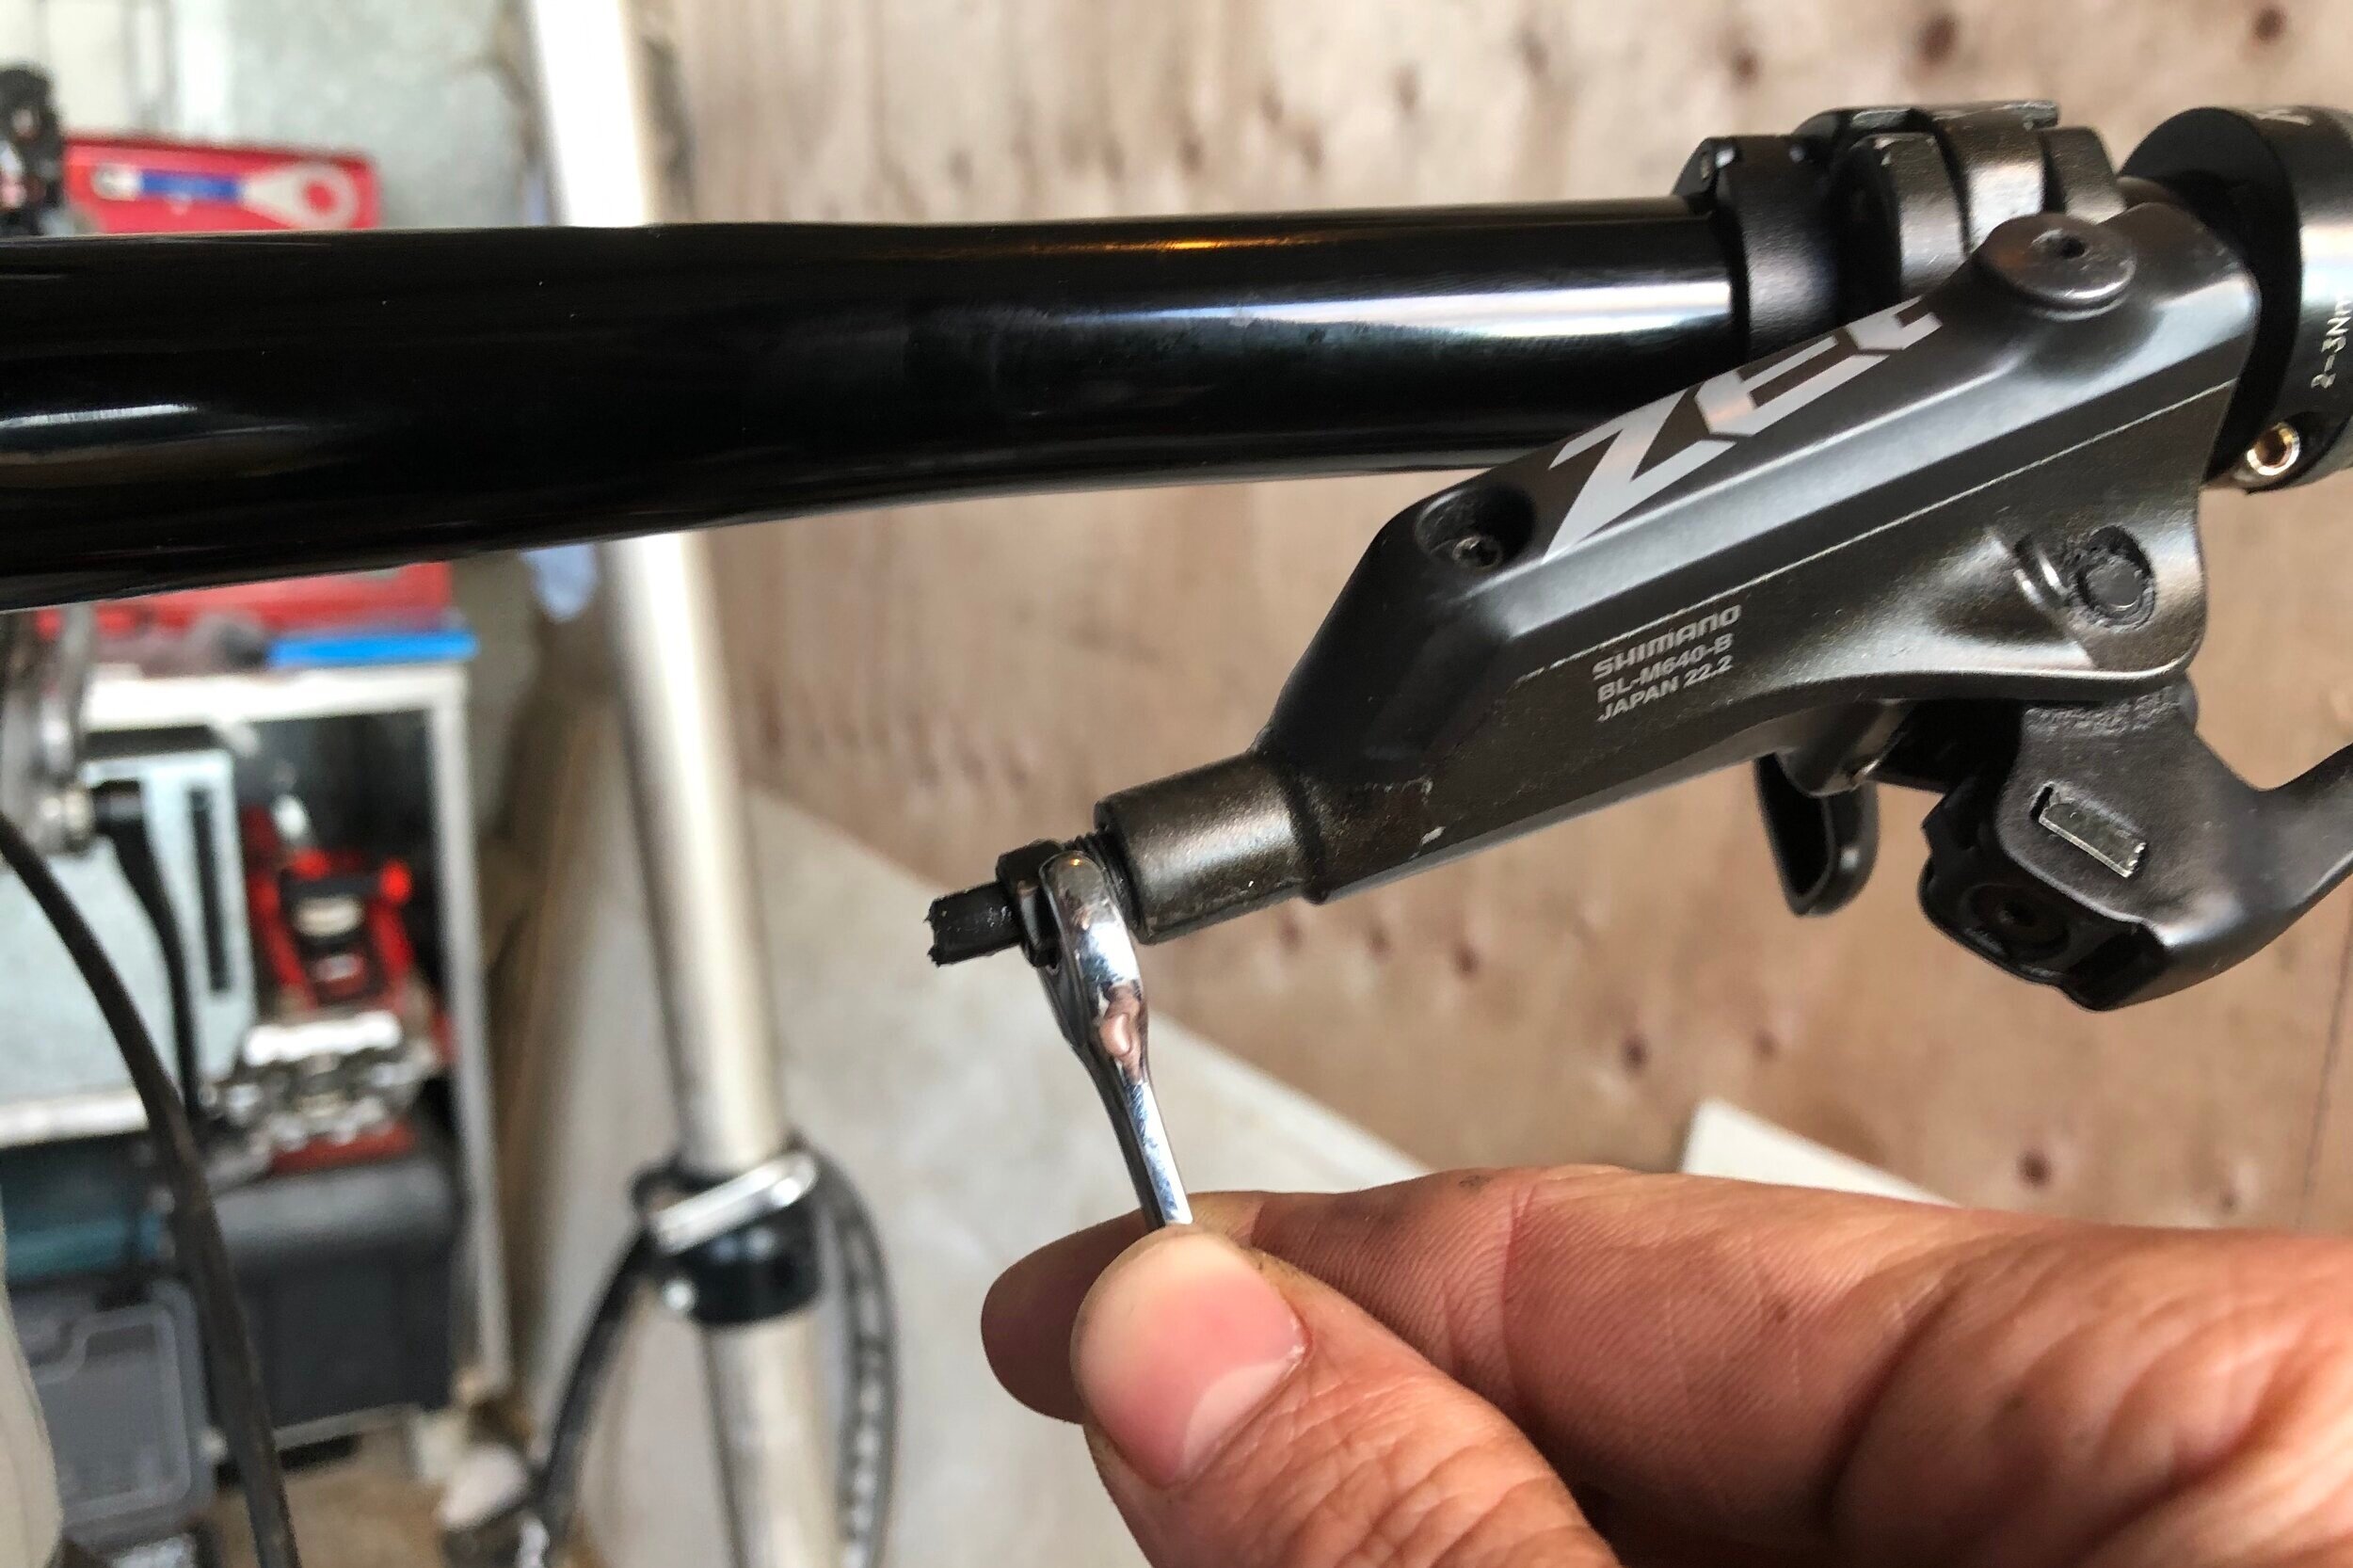
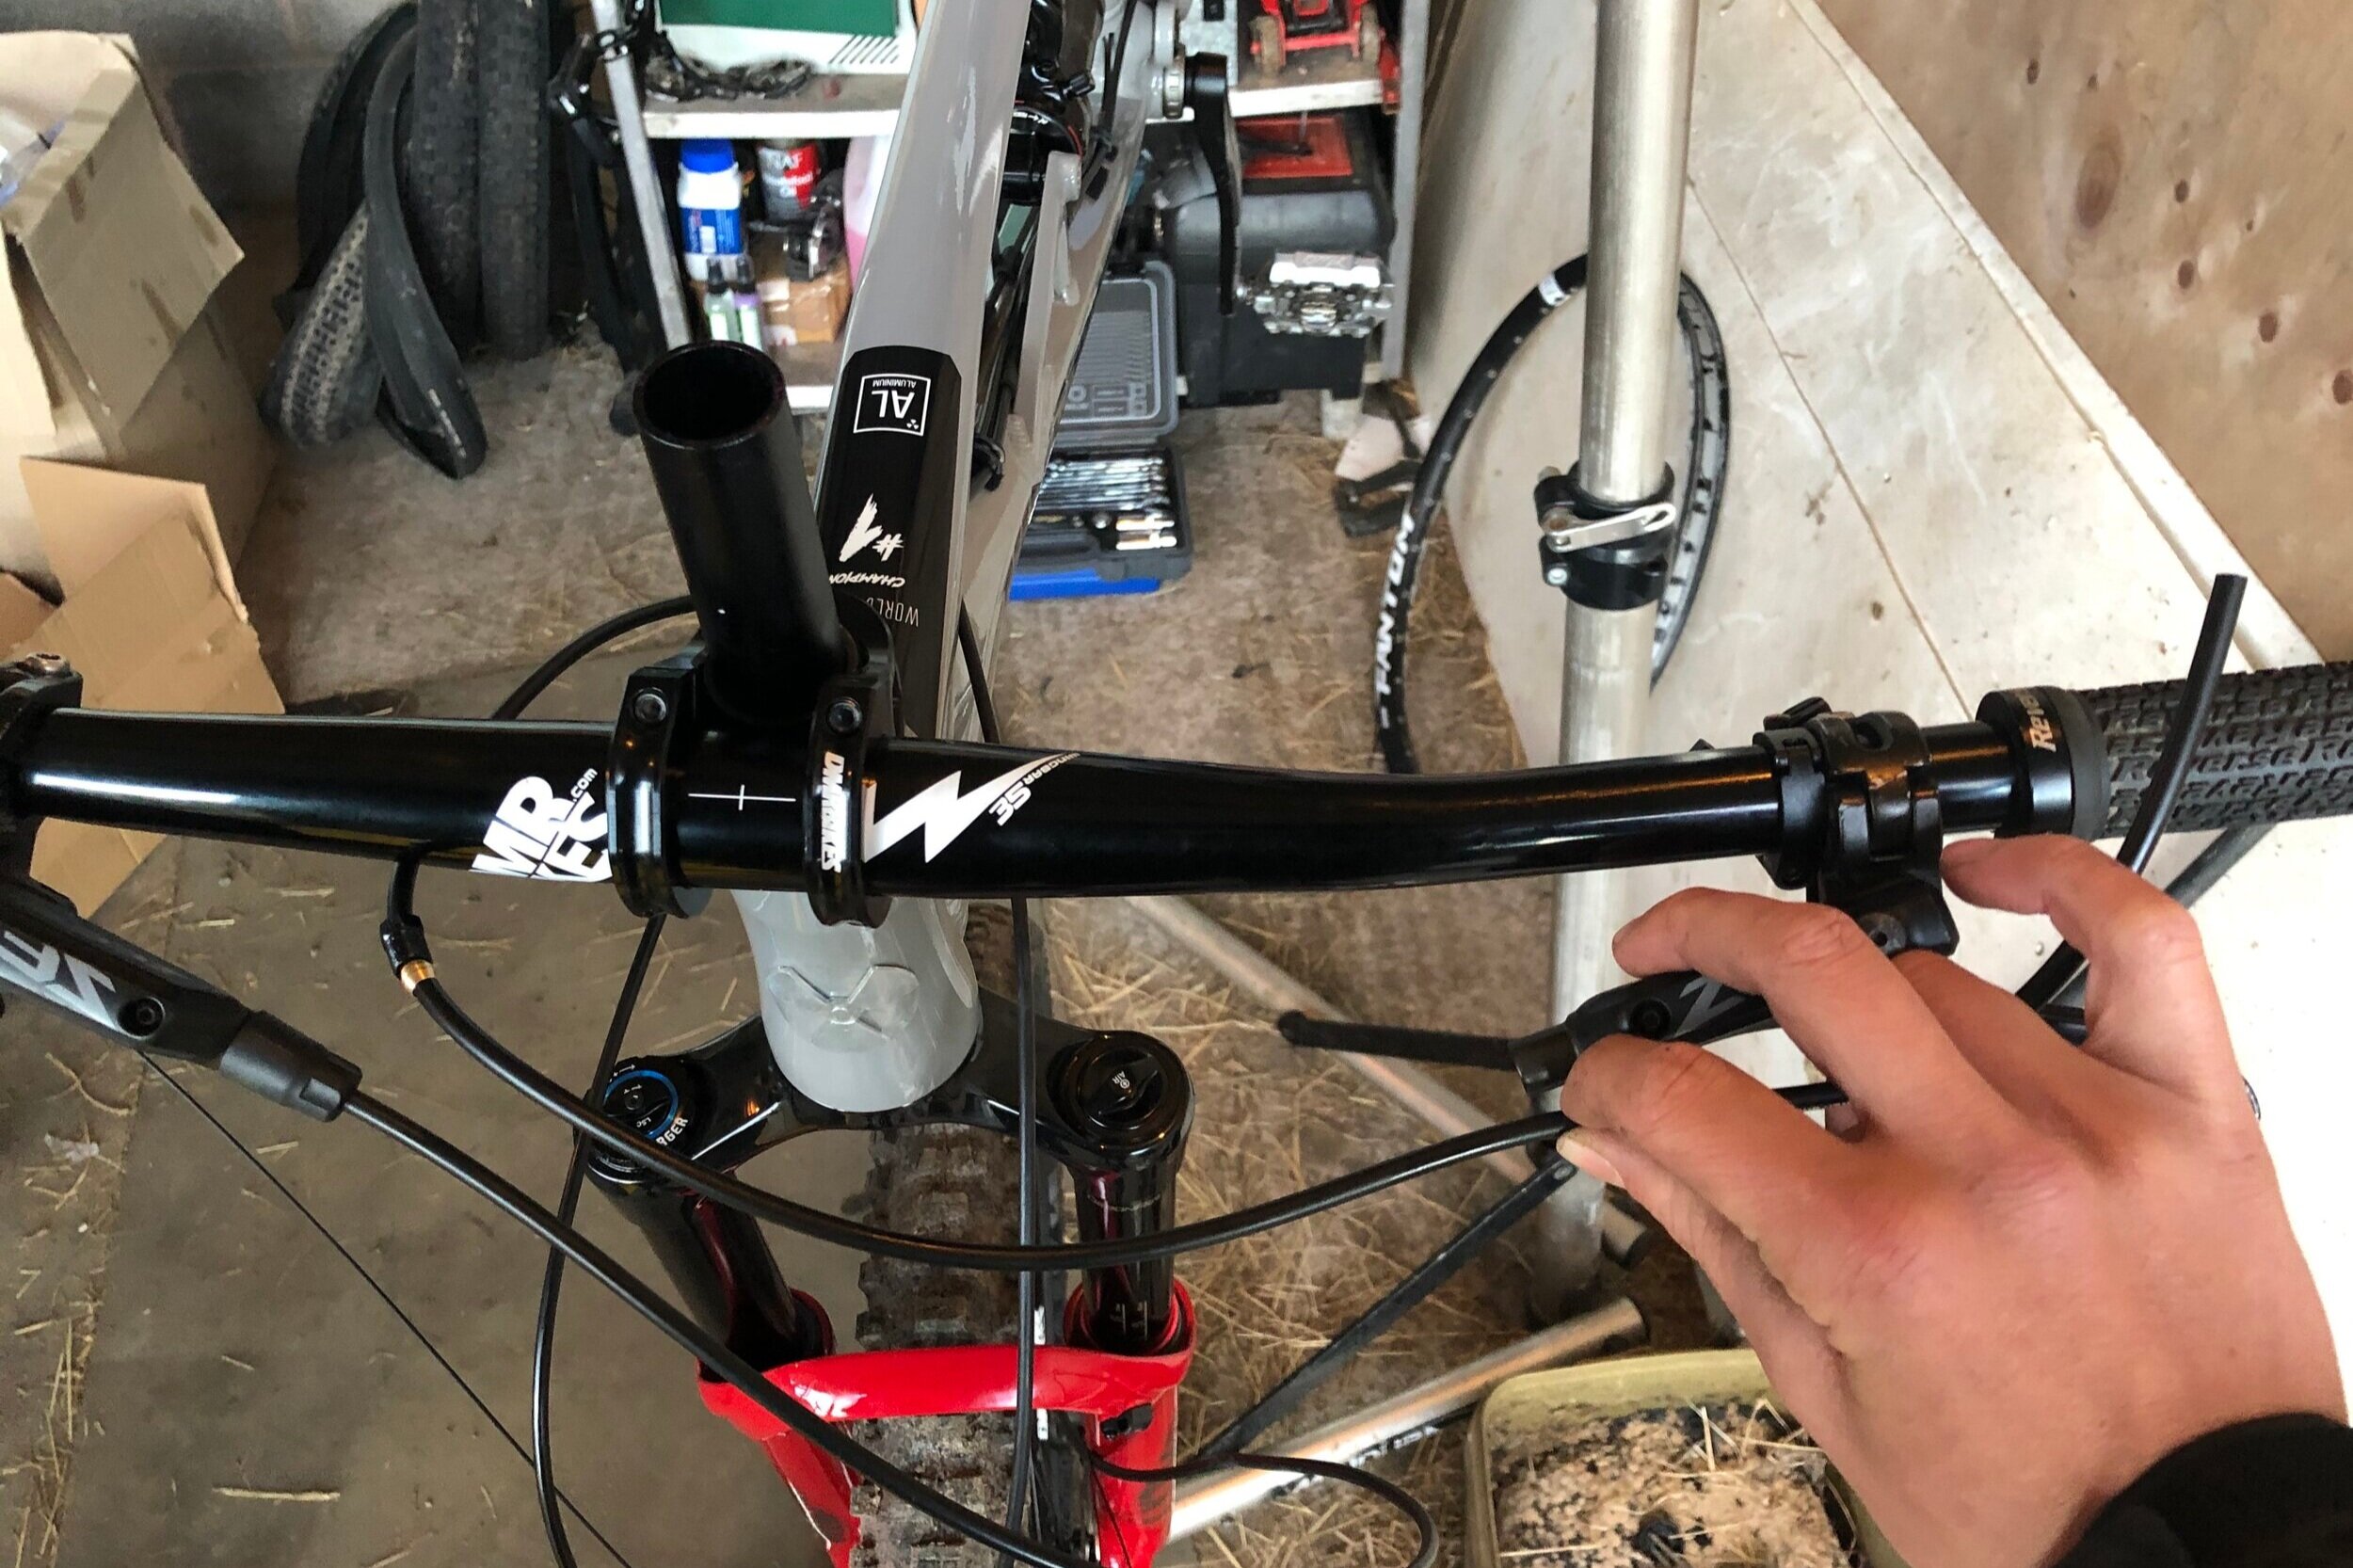
Next remove the old hose from the lever using the spanner, you may have to apply some pressure to the top of the lever so it doesn’t spin on the bars while you undo the bolt. With the old hose removed, offer up the new hose (again ensure you have fully routed it at this point) make sure there is enough slack to rotate the bars left and right without the disc brake hose being pulled too tightly.
Once you are happy cut the hose down. Inspect the cut end of the hose and if needs be, gently open it up slightly with a thin pick to accommodate the barb.
Insert the barb into the hose as far as possible by hand. Next grip the hose with the pliers and hose blocks, this can be a bit fiddly. Also ensure you don’t grip the hose too far up as it may restrict the barb from entering the hose. Then using a soft flat metal hammer or object similar press and tap the barb into the end of the hose fully.
Make sure the barb has been inserted fully before proceeding, the collar of the barb should be sitting flush with the hose.
While applying pressure on the hose towards the lever, carefully thread the bolt into the brake lever and tighten. It should feel a little stiff but keep tightening as it is the olive crushing to seal the hose into the lever. You will feel the olive crush and the bolt get tight into the lever, bite it up but be careful not to over tighten… don’t go too mad!
Finally slide the cover over the hose. You will now need to perform a full bleed of the brake which we have covered here if you need some help. Good luck with the fresh brakes!!
How To Wire In a Front Bottle Dynamo Light
We’ve had a recent refurbishment project of an old Pashley bike that had been left in the rain and the dynamo light, a real classic, was totally perished and corroded. So here’s a very simple guide as to how to fit and wire a new bottle dynamo front road bike light.
I’ll start by saying I am no electrician! To be honest I often find the whole electronics thing a little bit daunting. But as a bike mechanic it is something Ive had to embrace over the years, what with the progression of electronic shifting etc.
We’ve had a recent refurbishment project of an old Pashley bike that had been left in the rain and the dynamo light, a real classic, was totally perished and corroded. So here’s a very simple guide as to how to fit and wire a new bottle dynamo front road bike light.
You Need For Your Dynamo Fitting:
Bottle dynamo and compatible light (I bought it as a kit here’s what was included pictured above)
Wire cutters
Stanley Knife
Allen keys or spanners for attachment
Installing your bottle dynamo and light
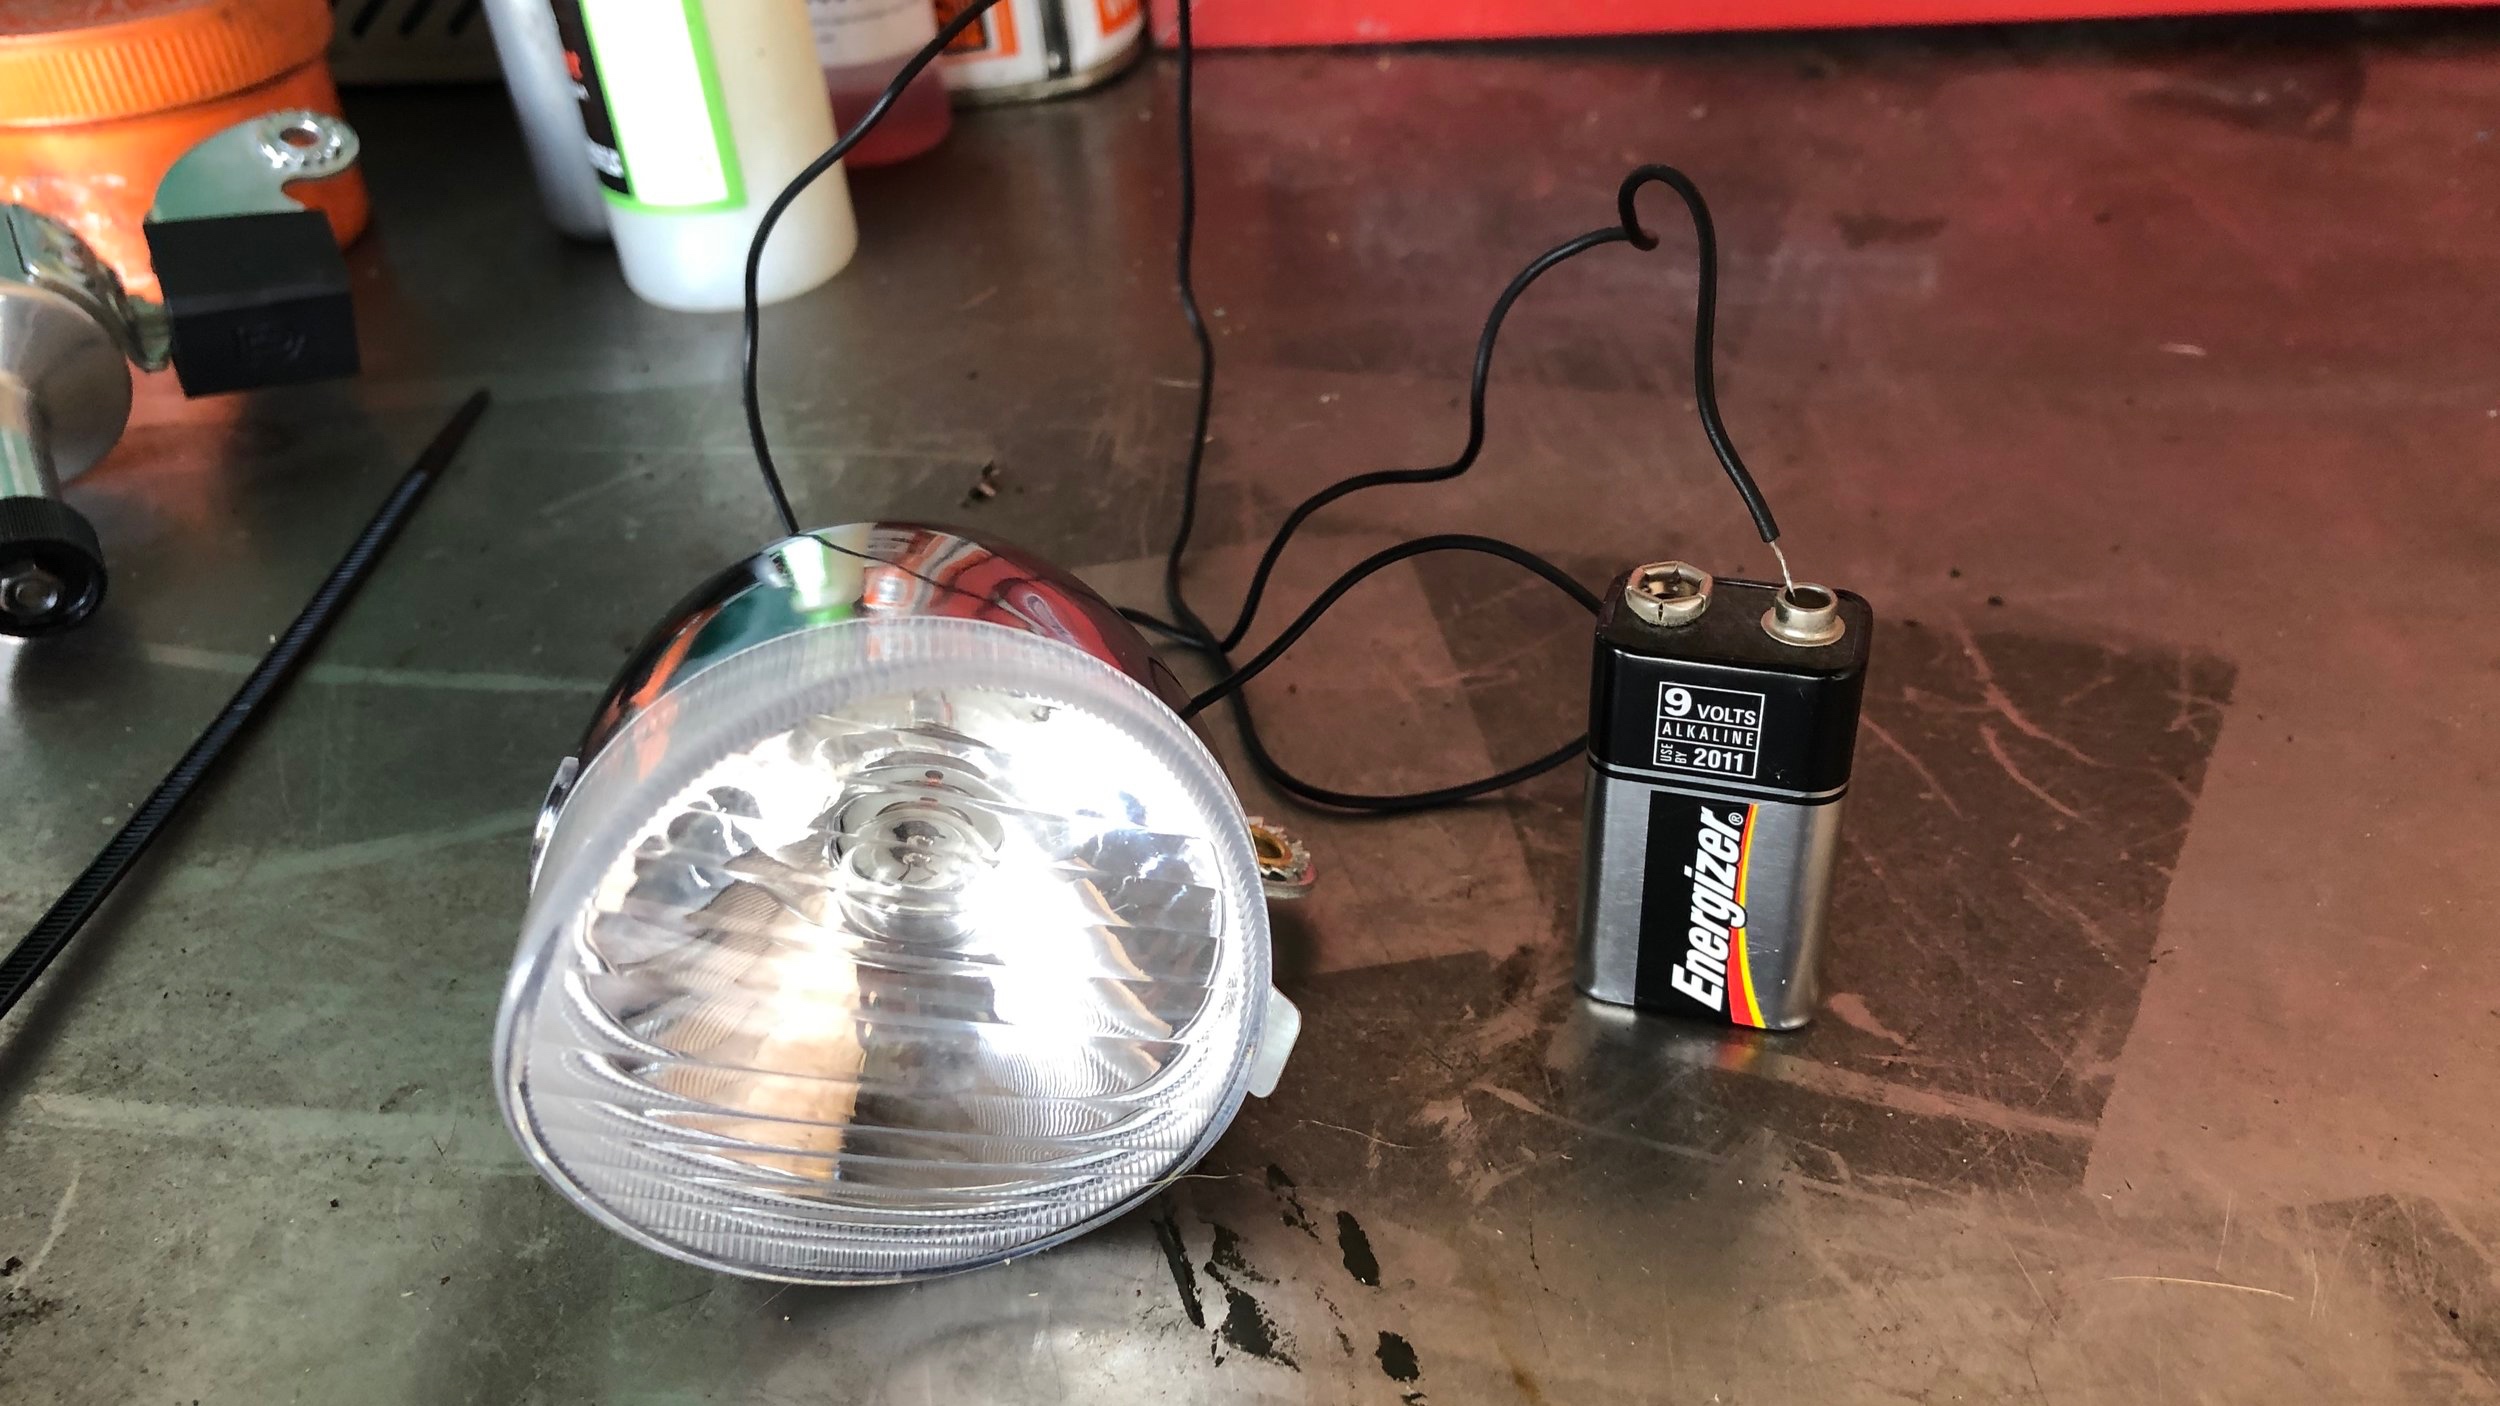
Firstly its a good idea to test the light works, in this case I bought it new so assumed it would but there’s no harm in testing!
Attach the positive wire from the light to the positive of the battery, in my case there is only one wire already wired to the lamp this is the positive.
Then touch the lamp to the negative terminal of the battery to complete the circuit and hope the bulb lights up! If there is a negative terminal or wire on the light, it’s the same process just using the wire.
Next it is time to fit the light, there is usually some sort of adaptor included with the light that you can get to fit with a few spacers and bolts. Bottle dynamos are designed to run on the tire or rim so will mount to the fork leg, The bike here has mounts dedicated to the dynamo however you can buy mounts that clamp to the fork, It is worth checking your bike before ordering the kit so you know what you’ll need.
Also note the bottle dynamo should be mounted as ‘straight’ as possible to the centre of the hub, this ensures the dynamo is working as efficiently as possible with minimal drag.
Now we have to attach wires! Heres a picture of the dynamo as you can see there is a clear positive terminal, this needs to attach to the positive from the light or the wire already wired into the lamp in my case.
Carefully route the cable down to the dynamo ensuring it is out of harms way and not obstructing any other components.
Now moment of truth… Provided you haven’t used any rubber spacers in the installation process, the circuit will be complete via the metal frame of the bike. Note the additional terminal on my dynamo is for a rear light.
If you have a negative terminal on your front light and dynamo then you will have to connect these up in a similar fashion as the positives in order to get a complete circuit.
While this is a very basic example we hope it inspires and at least gives you the confidence to give the dynamo light a go, it’s a great addition to any bike especially suiting vintage steel frames.
How To VW Caddy Van Rear Wiper Delete | Using Old Bike Parts
So having searched for hours trying to find the best Caddy rear wiper blank after deciding to remove mine, I only seemed to find random ebay results for wiper deletes for Japanese cars. I decided to consult the tool box one last time before spending pointless money in the DIY shop incase I had something that would do the job. Luckily I did and I think most fairly keen cyclists would probably have, if not could easily acquire all the parts to make a similar invention on their car or van.
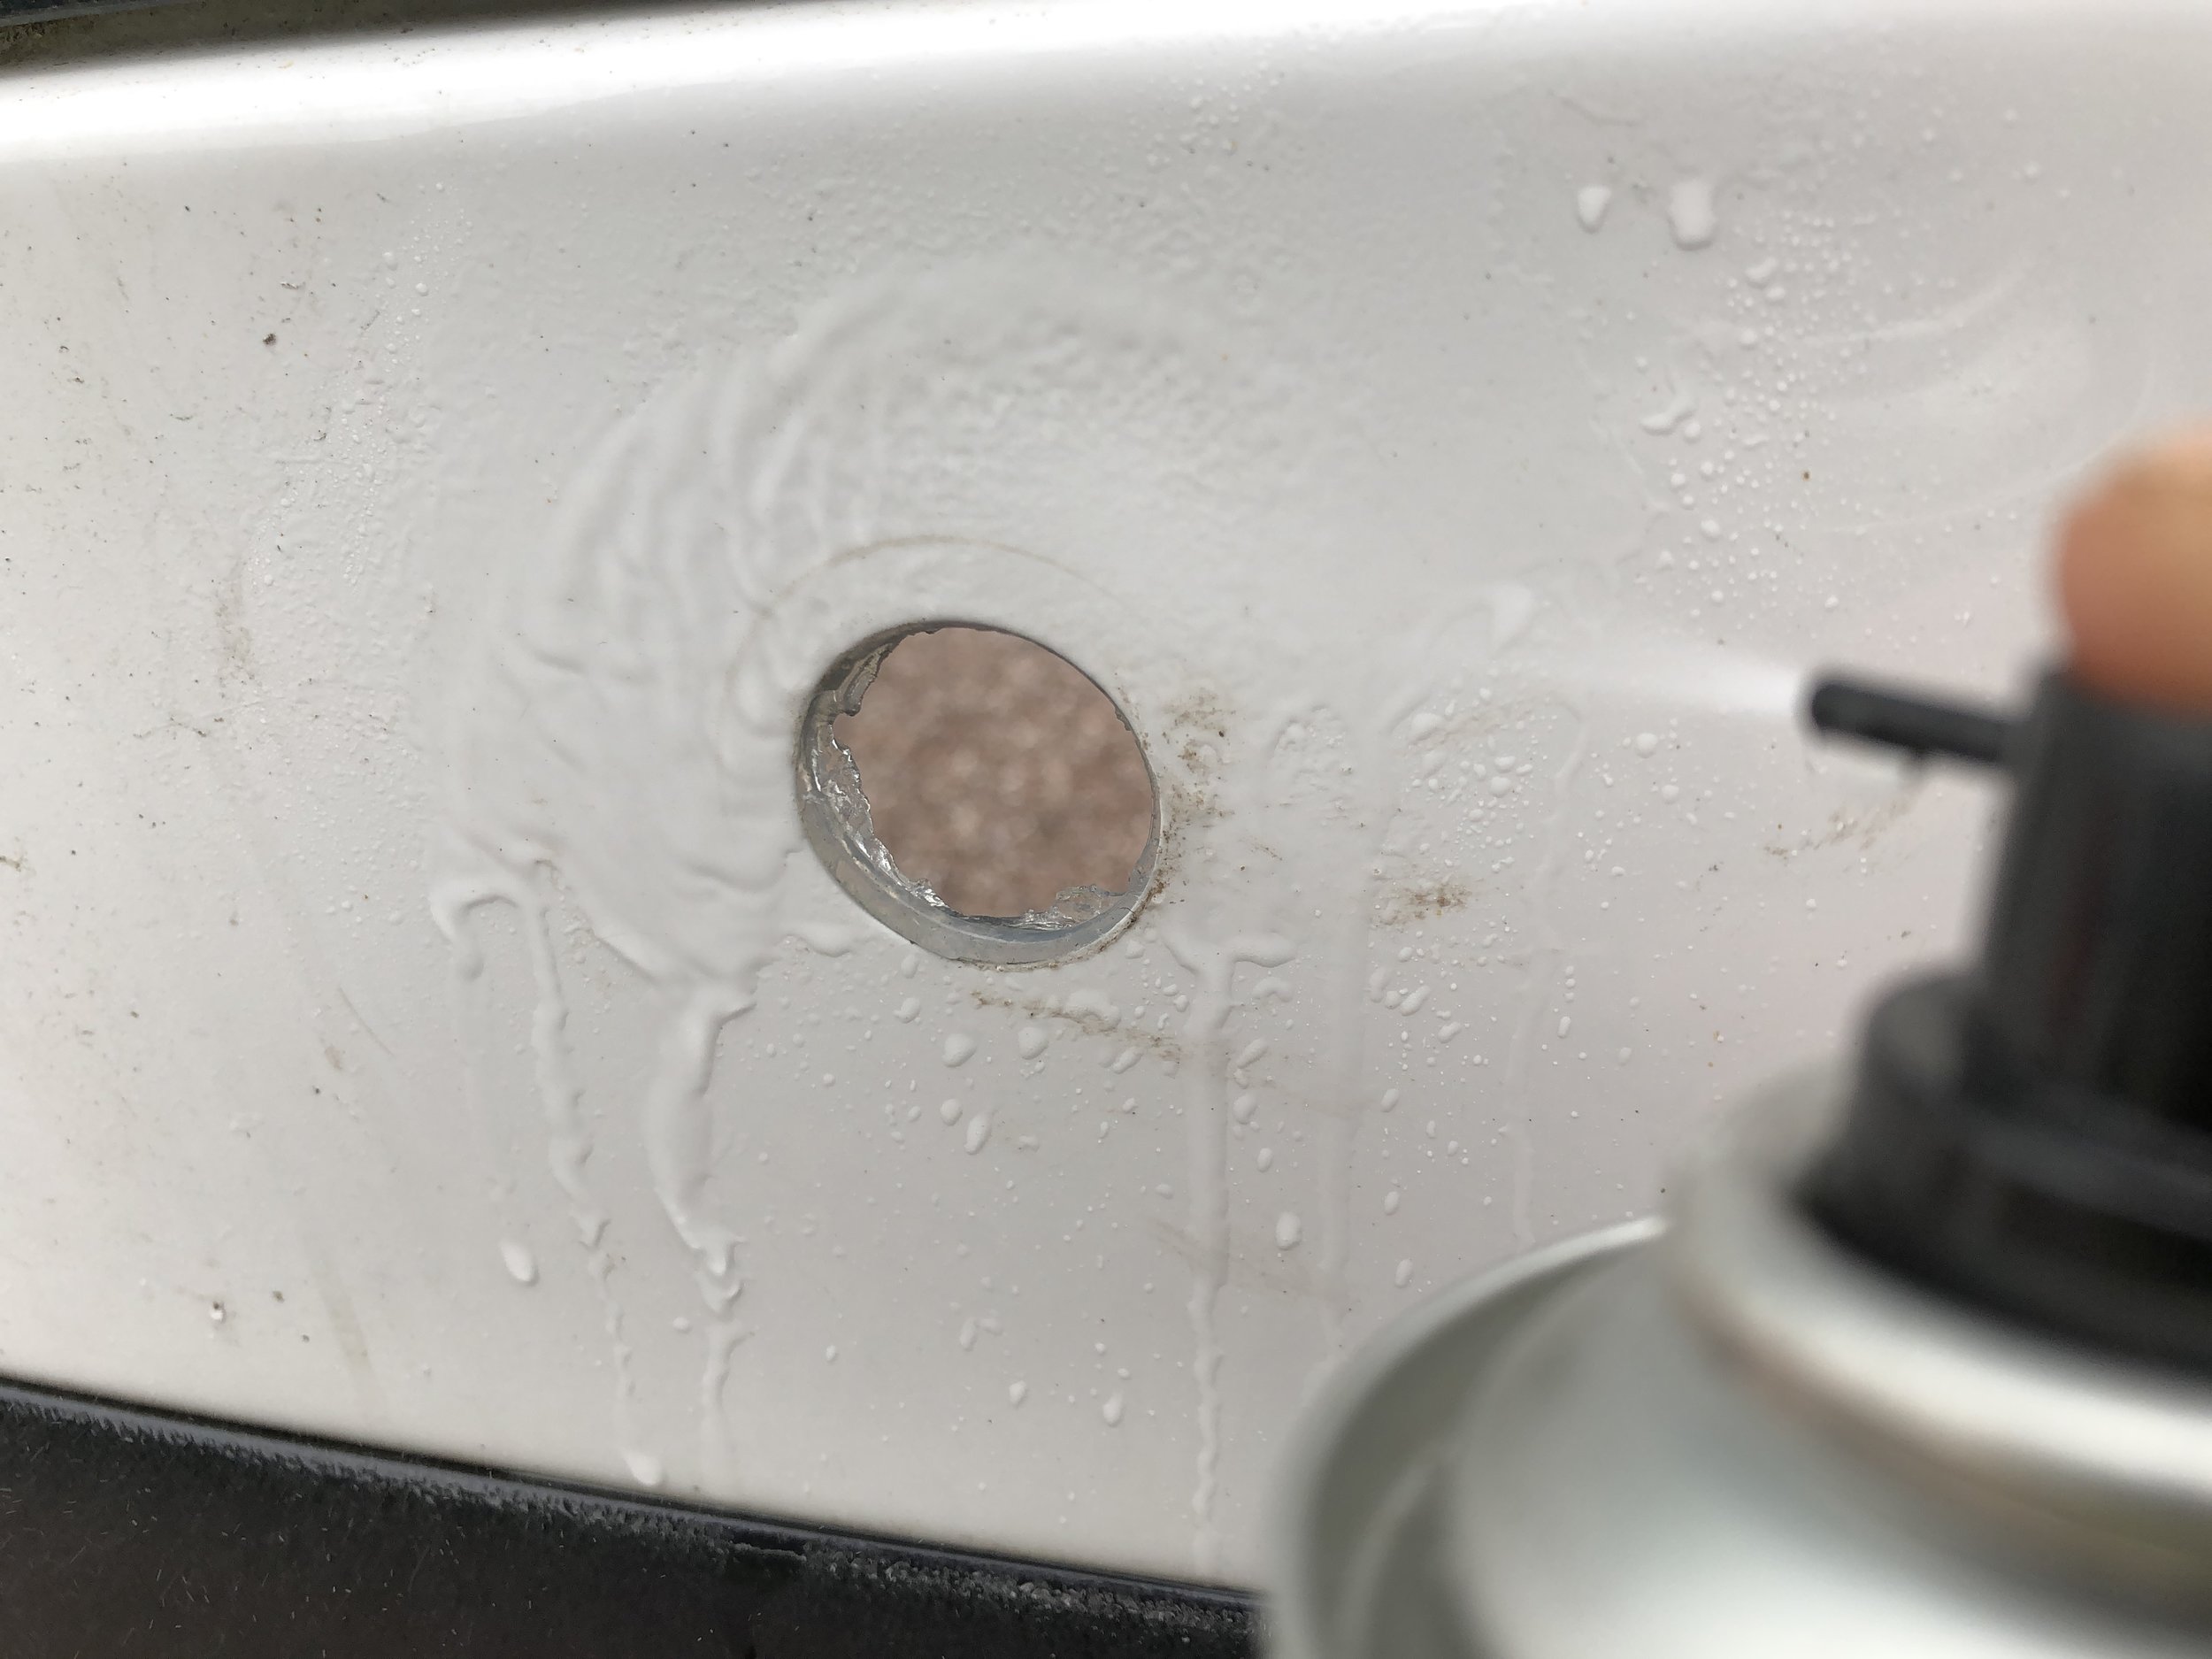
So having searched for hours trying to find the best Caddy rear wiper blank after deciding to remove mine, I only seemed to find random ebay results for wiper deletes for Japanese cars. While there were some nice looking threaded rear window deletes that claimed to seal 24mm holes… The hole in the door after removing the rear window wiper on a VW Caddy is 27mm! I decided to consult the tool box one last time before spending pointless money in the DIY shop incase I had something that would do the job.
Luckily I did and I think most fairly keen cyclists would probably have, if not could easily acquire all the parts to make a similar invention on their car or van that not only looks smart, but also seals the old rear wiper hole a lot more securely than an over priced plastic wiper delete from ebay. We are basically plugging the hole in the van with the same tools used to hold a bike stem to the forks on most modern mountain bikes.
You Need For Your Rear Wiper Delete:
Bicycle head set top cap
Star nut (any nut will do just these are self gripping)
Headset Spacer
Assorted O ring seals
Long bolt
Random spacers would help
Sealant
Brake cleaner
Rag or towel
Gloves
Deleting Your Rear Wiper:
I started by adding a small o ring washer to the bolt to waterproof it. Next I cleaned up the hole in the Caddy left from removing the windscreen wiper with brake cleaner and a rag.
Having found that a bike top cap or headset top cap pretty much perfectly fits the hole in the door perfectly, I decided to colour code it to the van and use it for the exterior. There are some pretty cool colours of top cap available on the market though if you wanted something different
Then I put a bit of sealant around the inside of the Caddy door and around the top cap which will be used to cover the exterior of the van door.
Next I constructed the device around the door, as pictured, here is the order of components used on the interior of the van door; top cap and bolt on the exterior then; headset spacer, a second top cap (a large spacer will do the same) and a star nut on the inside.
As the top cap on the exterior of the van is tapered it protrudes through to the inside. A headset spacer fit perfectly up underneath the old wiper motor bracket and allows the bolt to be done up tightly to seal the door.
Finally I wiped off any excess sealant and tightened the bolt firmly to form a good seal around the van door. After 24hours I tested the device with a jet wash and the VW Caddy rear wiper delete is totally sealed!
Hopefully this guide helps and inspires with any of your own rear wiper blanks. Its a really quick task and in my opinion looks pretty good without the need to weld up the door or spend loads on a plastic bung that needs sealing anyway.


